If you’re looking for how to make wine labels with Cricut, you may be wondering how to go about it.
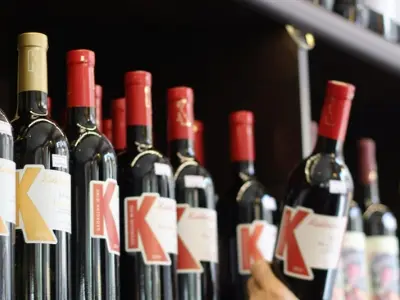
Custom wine labels are perfect for wine bottles you intend to gift or give as party favors.
We will walk you through each step of how to make wine labels with Cricut, so you can create beautiful wine labels that will impress your friends and family.
Making wine labels or stickers with Cricut is fun and easy, so let’s get started!
How To Make Wine Labels With Cricut
To make wine labels with Cricut, select sticker paper or any type or texture of self-adhesive vinyl. Load a wine label template into the Cricut and customize it as desired.
Load the self-adhesive vinyl or sticker paper onto a cutting mat. Follow the on-screen directions to cut the material. Weed the design, leaving the vinyl on the backing.
Apply Transfer Tape to the front of the vinyl design and use it to place the label on the bottle as desired. Burnish the vinyl so it sticks, then remove the Transfer Tape.
If using stickers, simply cut them on the Cricut then peel and apply!
Read More: How to Make Custom Hand Sanitizer Labels. Make keeping your hands germ-free fun with DIY Cricut hand sanitizer labels!
How To Make Wine Labels With Cricut: Step By Step Guide
To choose the right material for a wine label you will need the following:
- Wine bottles
- Cricut machine
- Self-adhesive vinyl or sticker paper
- Weeding tool
- Transfer Tape
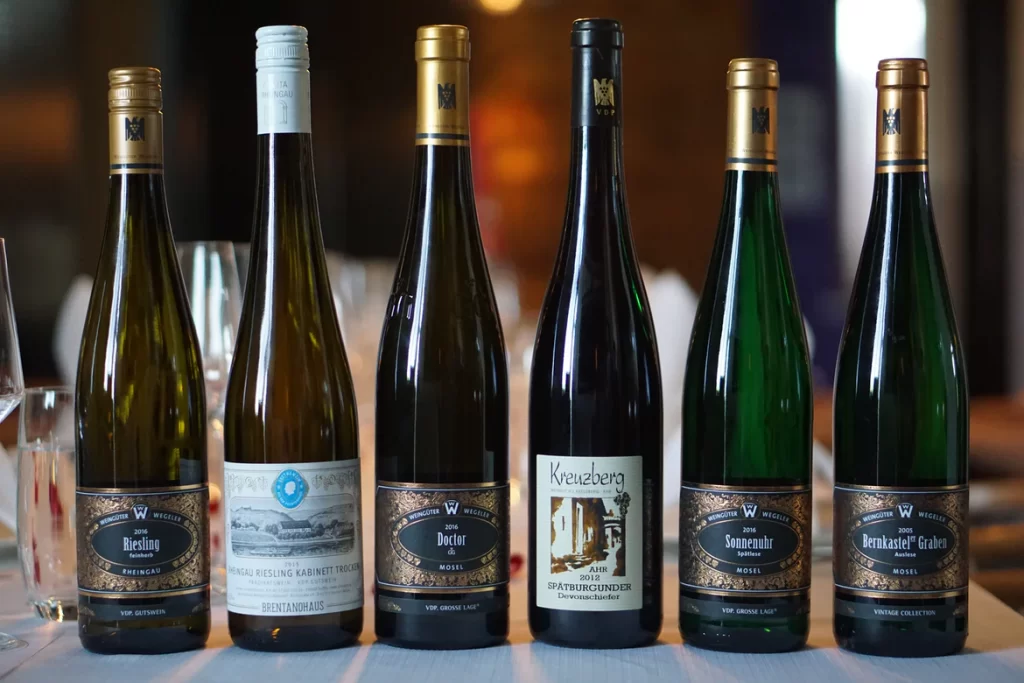
Making wine labels for your favorite red wine with a Cricut machine is easy and fun! You can use self-adhesive vinyl or stickers to create custom labels for your wine bottles.
If you’ll be putting a label on a store-bought wine, be sure to remove the original label first!
Choose Your Self-Adhesive Paper
The first step is choosing the right type of paper for your wine labels. You want a sticker paper or vinyl that can handle humidity and cold temperatures.
The reason you only want to use self-adhesive materials is because you can’t use heat to adhere the vinyl to the bottle. That would ruin the wine inside.
Thankfully, Cricut self-adhesive vinyl comes in all colors and textures, so you’re sure to find the perfect vinyl for your wine labels.
Design Your Perfect Wine Labels
You can purchase wine label templates from makers on a marketplace like Etsy, or find free vector files online.
We like to use templates in Cricut Design Space because we know they’ll work perfectly. Use Design Space to design your label exactly the way you’d like it to look.
If you’re using a Cricut Maker or Cricut Joy, you can clamp Cricut pens into the machine and have it draw on your labels before cutting them out!
If you’re new to templates, be sure to check out our guide on How to Use Templates in Design Space.
Cut Your Wine Labels With Cricut
Now that you have your design and materials ready, it’s time to cut out the labels!
Load your material onto a regular cutting mat and follow the machine instructions to cut your labels.
Make sure your settings are correct for the thickness and type of paper. Then simply send your design to the machine and let it do its job.
Weed the Labels

After the labels have been cut, it’s time to weed them. This simply means removing the excess vinyl or paper around the outside of the label using a weeding tool.
You should be left with an adhesive vinyl label stuck to the backing material.
Apply Transfer Tape To Your Design
StrongGrip Transfer Tape is the best type to use for most vinyl projects.
It has a grid on it to help you position your vinyl perfectly, and it enables you to “pick up and place” your design easily.
Apply the Transfer Tape to the front of your adhesive vinyl design.
Remove the backing from the adhesive vinyl, then use the transfer tape to place the design on the wine bottle.
Burnish the design using a craft stick or something similar to activate the adhesive and eliminate bubbles. Carefully remove the Transfer Tape to reveal the finished label!
Read our related article on How to Use Cricut Transfer Tape for more helpful tips!
Applying Stickers to a Wine Bottle
If you’re using stickers you’ve cut from sticker paper, simply peel them off the backing and apply them as desired.
If you’re way into cutting stickers, check out our list of the very best Cricut machines for cutting stickers!
Want a tutorial on how to do print then cut stickers with Cricut? Check out this how-to video to learn all about it.
Tips For Making Wine Labels With Cricut
Choose the right Cricut machine for your project. If you want to make wine labels in large quantities, you will need to choose a Cricut machine that can handle larger projects.
The Cricut Maker or Cricut Explore Air can cut up to 100 different materials, making it an excellent choice for this task.
Gather all of the materials that you will need. In addition to your Cricut machine, you will need some labels (you can either buy these pre-made or design them yourself), some transfer paper, and a cutting mat.
For custom labels, you’ll want self-adhesive vinyl or sticker paper.
Consider shopping for custom wine labels from makers on marketplaces like Etsy.
You can usually get a pack of custom-designed labels for a few bucks. You know they’ll look good and cut right.
Plus, you’re supporting an artisan which is something we always like to do.
Read More: Making Butterflies With Cricut. Butterflies are popular for decor and other crafts, and here we show you how to make your own step-by-step!
What Size Labels Should I Make?

There are three standard label sizes for wine bottles:
- Extra-Small: fits quarter split bottles of wine or champagne (about 6.3oz)
- Small: fits most 187 ml (13oz) bottles (wine or champagne half splits)
- Medium: fits most 750 ml (standard size) bottles
- Large: fits most magnum (large size) and other specialty bottles
How Are Bottle Label Sizes Measured?
The standard wine bottle is 750ml (25.36 ounces).
While many people decorate a couple cases of standard bottles for a wedding or event, most either decorate Magnums for gifting or splits as favors.
To correctly measure your label, you need to consider a few factors: The dimensions of your label itself (including any bleed or margin) and the shape of your wine bottle.
You also need to account for how much space will be between each label on the sheet – we recommend at least 0.125 inches to ensure you can weed the labels without damaging them.
Now that you know how to measure your labels, it’s time to start designing! You can find some great templates for wine labels on Cricut Design Space.
Create an account, browse the library of projects, and get started.
FAQs
Q: How Much Does It Cost To Make Wine Labels With A Cricut?
A: The cost of materials will vary depending on the type and size of your chosen labels.
However, you can expect to spend around $30-$50 for a sheet of labels, transfer paper, and a cutting mat.
Q: How Long Does It Take To Make Wine Labels With A Cricut?
A: The time it takes to make your labels will depend on the design of your label and the size of your project.
However, you can expect the entire process to take around 30-60 minutes.
Q: Can I Use My Own Designs For My Wine Labels?
A: Yes! If you have designs that you would like to use, simply upload them into the Cricut Design Space software and follow the prompts to cut them out.
You can also find a variety of templates and pre-made designs on the Cricut Design Space website.
Conclusion
Making wine labels with Cricut machines is easy!
You can create unique labels that will make your wine bottles stand out. Gift bottles that your guests won’t forget with Cricut!