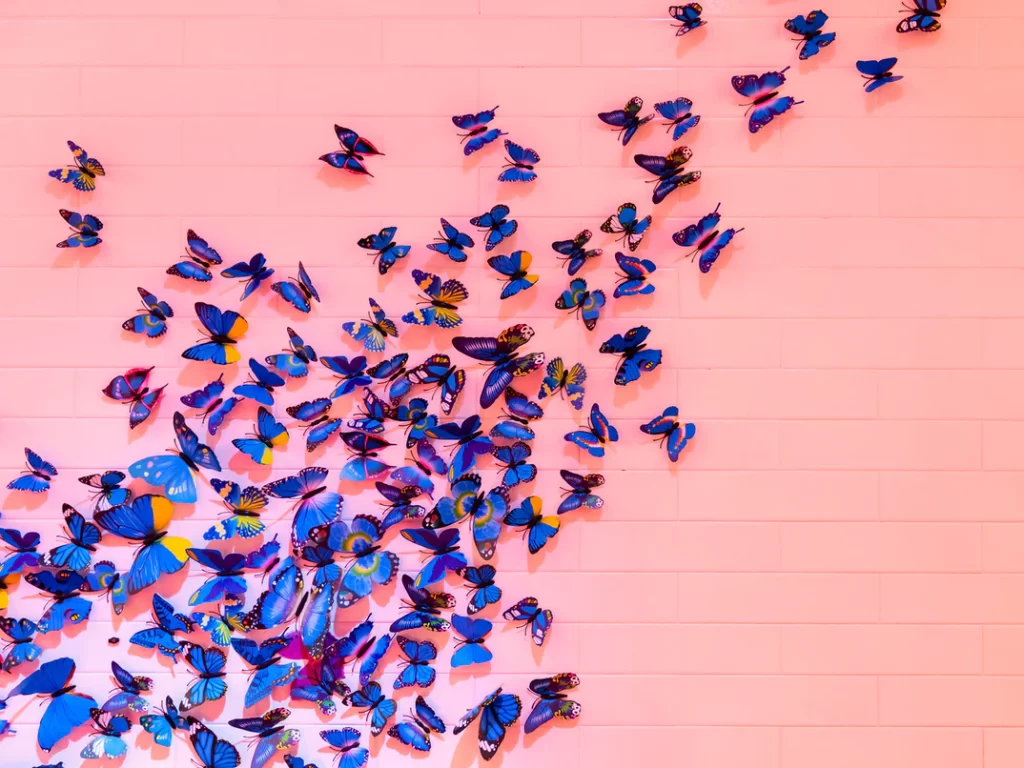
Making 3D butterflies with a Cricut is a fun and easy way to add some flair to your décor.
You can use a few different methods, but we will show you the easiest way to do it.
In this guide, we will walk you through how to make 3D butterflies with Cricut!
How to Make 3D Butterflies With Cricut

Lenticular butterflies are made by cutting two identical butterfly shapes out of paper, sandwiching a thin piece of clear plastic between them.
The top and bottom layers of the butterfly are offset slightly.
This gives the illusion of a three-dimensional object, even though it’s just two flat pieces of paper!
- Choose a Cricut template then cut out 2 copies on paper and 1 on clear plastic, like a transparency sheet.
- Glue them together, slightly offset to give a 3D effect.
- Alternatively, cut 2, 3, or 4 layers of butterflies, making them get slightly smaller as you go from the back layer to the front layer.
- Alternate paper colors and patterns between the layers if desired.
- Score the wings so they can fold neatly as needed, and glue the layers together only on the body of the butterfly.
- Fold each wing layer slightly differently to give a 3-dimensional effect to the wings.
Add small wire antennae or legs between 2 of the paper layers before gluing on the final top layer.
Read More: How to Make Paper Sunflowers With Cricut. Pair your butterflies with sunny sunflowers using our tutorial!
How to Make 3D Butterflies With Cricut Step-by-Step
We’ll show you how to make 3D butterflies with Cricut. First, you will need to gather your supplies.
For this project, you will need:
- A Cricut machine
- Cricut cutting mat
- Butterfly template free online or in Design Space
- Cardstock
- Scissors
- Glue sticks
- Pipe cleaners or wire antennae (optional)
Read More: How to Use Templates in Design Space. If you’re a beginner, this guide is a great launching-off point!
How to Make 3D Butterflies With Cricut-Easy Steps

Now that you have gathered all of your supplies, it is time to get started! Follow these easy steps to make your butterflies.
Step 1: Choose Your Template
The first step is to choose the template you want to use for your butterfly. There are a variety of different templates available online.
We like to use a template that allows for 4 different wing sizes.
These can be cut from different colors, or glitter cardstock and layered for intense depth.
Step 2: Cut Solid Butterflies from Cardstock
Load cardstock onto the regular cutting mat and set the machine to cut the outline of each butterfly.
If using different colors, these steps will have to be done one at a time.
Change to the scoring wheel or tip and score a straight line at the base of each wing of each copy of the butterfly you cut so the wings can be neatly folded.
Read More: How Do You Make an Outline in Cricut Design Space? It’s easier than you think! Here’s how to do it for text, images, and more!
Step 3: Cut Out The Top Butterfly
Now it is time to use your Cricut Joy machine to let your creativity shine!
Use any type of cardstock you like and cut out the intricate top layer for your 3D butterfly.
Use the scoring tip or wheel to score a straight line down the base of each wing so they can be folded as needed.
Step 4: Assemble The Butterfly
Once all of the pieces have been cut out, it is time to assemble your butterfly.
Glue only the middle body pieces of the butterflies together so that the wings can be folded and shaped as desired.
Then, use a glue stick to connect any other small details like antennae or pipe cleaners that you can add at this point.
And that’s it! You have now created a beautiful butterfly using your Cricut machine.
Be sure to experiment with different templates and paper colors to create a variety of other butterflies.
Check out this video for expert tips on achieving the intricate, clean cuts you want when cutting 3D butterflies with Cricut.
She’s doing intricate hummingbirds, but the principles are the same.
How to Make 3D Butterflies With Cricut: Tips and Tricks
Have you ever wanted to add a little bit of dimension and flair to your papercraft?
If so, then learning how to make three-dimensional (or “Lenticular”) butterflies is a perfect way!
Here are a few tips to make the best paper butterflies possible.
Tip # 1: Choose The Right Paper
When it comes to making three-dimensional butterflies, the type of paper you use will be essential. You’ll want to look for a heavier cardstock.
This will help to ensure that your butterfly wings don’t warp or bend when you shape them.
We love to use pearl and glitter finish cardstock for lenticular butterflies.
Experiment with other types of cardstock to get unique butterflies for your projects.
Tip # 2: Score Your Paper Before Cutting
Before you even start cutting out your butterfly shapes, it’s a good idea to “score” the paper first.
Scoring is simply the process of making a light crease in the paper so that it will fold more easily later on.
Set your Cricut machine to its scoring setting and run it over any areas where you’ll be folding the paper.
Tip # 3: Use Different Colors and Patterns

One of the best things about making three-dimensional butterflies is that you can get creative with the colors and patterns.
So, don’t be afraid to experiment with different color combinations and patterned papers!
Frequently Asked Questions
How Do I Make the Butterfly Three-Dimensional?
After you’ve cut out your butterflies, gently fold along the scored line in the body’s center.
Fold the wings up so that they’re perpendicular to the body, and then use glue or double-sided tape to adhere them.
You can also add a string or wire to the body before folding and gluing if you want to be able to hang your butterfly.
How Can I Make My Butterfly More Realistic?
If you want, you can paint your butterfly before or after assembling it.
You could also use a different color of cardstock for the body and wings or even layer two or more colors of paper to create a more dimensional look.
Do I Have To Use a Cutting Machine?
No, you could cut your butterflies out by hand if you wanted to. If you use a cutting machine, it will be much faster and easier!
We love using Cricut for this type of project because the cuts are intricate, clean, and professional. And it cuts everything so quickly that we can make a bunch!
What Kind of Template Should I Use?
You can find all sorts of butterfly templates online – just do a quick Google search for vector files.
You can also search for butterflies in Design Space and resize them in the work area before cutting.
What Kind Of Cardstock Should I Use?
Use heavy cards for best results. We like to use 80lb Cricut cardstock.
This will make it easier to score and fold the paper, and your butterfly will be nice and sturdy.
Cricut glitter cardstock and other finishes are cut beautifully with Cricut machines and make very eye-catching butterflies.
Read More: Cricut Maker 3 Review. We put the Cricut Maker 3 to the test and here are our honest thoughts to help you make an informed decision!
How Can I Display My Butterflies?

There are lots of ways to display your finished butterflies!
You could put them in a frame, glue them to a piece of cardboard or wood, or even tape them up on your wall.
We love to put finished butterflies on floral wire sticks and place them in flower arrangements and potted plants.
Make small butterflies and use them as wedding decor on invitations, thank you cards, place cards, and wedding favors.
Use them on hair clips and headbands, or mount pins on the back and put them on tee shirts, jackets, cloth purses, backpacks, pillows, and more.
The possibilities are only limited by your imagination!
Wrapping Up
Making 3D butterflies with Cricut is a fun and easy project that’s even fun to do with kids.
Let them pick out the paper and assemble the cut butterflies.
Make some butterflies with white cardstock and let kids paint on designs and colors when the butterflies are done. This is such a fun summer vacation activity!
