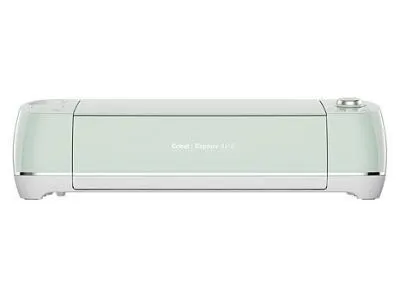
The Cricut Explore Air 2 is a versatile machine that can cut paper, fabric, vinyl, and even leather with ease.
So let’s dive in and look at how to scan and cut with the Cricut Explore Air 2!
The Scan and Cut Feature
The Cricut Explore Air 2 is a cutting machine that allows you to create intricate designs and patterns with ease.
One of the machine’s most popular features is the scan and cut function.
This feature allows you to take any image or design, scan it into the machine, and then allow the machine to cut it out for you.
This is perfect for those who want to create complex designs but don’t have the time or patience to do all the cutting by hand.
Overall, the scan and cut feature on the Cricut Explore Air 2 is a highly versatile tool that can be used for a variety of different projects.
How to Scan and Cut

Cricut’s Explore Air 2 is a cutting machine that can be used to create a variety of projects, from Cricut wedding invitations and cards to custom T-shirts and home decor.
The machine comes with a built-in scanner, which makes it easy to scan an image and then cut it out.
Here’s how to scan and cut with the Cricut Explore Air 2.
Scan
First, select the “scan” option on the Cricut Explore Air 2.
Then, place the item you want to scan onto the scanning bed.
Once the item is in place, press the “scan” button.
The machine will take a few seconds to scan the image.
Cut
After the image has been scanned, select the “cut” option on the machine.
Then, choose the setting that you want to use for cutting out the image.
The Cricut Explore Air 2 has different settings for different materials so be sure to choose the correct setting for your project.
Once you’ve selected the correct setting, press the “cut” button.
The Cricut Explore Air 2 will start cutting out the image.
Here is a great video going through some basics of how to cut vinyl using the Cricut Explore Air 2:
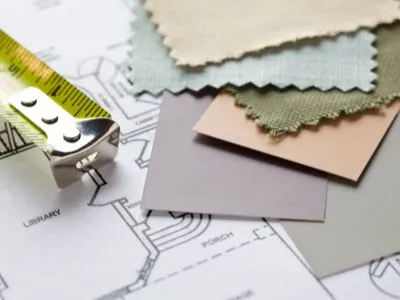
What Materials Can You Cut With Cricut Explore Air 2?
When it comes to learning how to scan and cut with the Cricut Explore Air 2, you can cut a wide variety of materials with ease.
From paper and cardstock to vinyl and iron-on, this machine can handle it all.
With its built-in Bluetooth, you can even cut without a computer.
Just connect your Explore Air 2 to your phone or tablet and get started right away.
Here’s a list of materials that a Cricut Explore Air 2 can cut:
- Vinyl
- Paper
- Wood
- Felt
- Leather
Read our related article, Can Cricut Explore Air 2 Cut Wood? to see how to cut wood and get fun ideas for projects!
Should You Cut Acrylic With Cricut Explore Air 2?
Acrylic is a versatile material that can be used for a wide variety of projects.
It’s perfect for everything from DIY acrylic earrings to home decor, and it can even be used to create custom signage.
So, can a Cricut cut acrylic? The short answer is yes.
However, there are a few things you need to keep in mind when cutting acrylic with a Cricut.
- First of all, you’ll need to use a special blade designed for cutting acrylic.
- Second, you’ll need to use the correct settings on your machine.
With these tips in mind, you can easily use your Cricut Explore Air 2 machine to create beautiful acrylic projects.
Do I Need to Mirror My Image When Using Scan and Cut?
It depends.
In some cases, you may need to mirror your image to ensure that it comes out correctly when printed.
For example, if you’re printing DIY vinyl decals that will be applied to a window, it’s important to mirror the image so that it appears correctly from the outside.
In other cases, however, you may not need to mirror your image at all.
Depending on what your project is you can mirror your image or leave it as is.
Final Thoughts
The scan and cut feature is one of the most used features on the Cricut Explore Air 2.
We recommend referring back here to use this method on your next project!