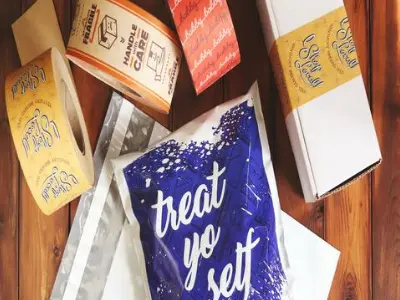
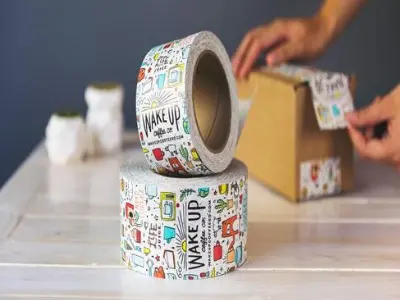
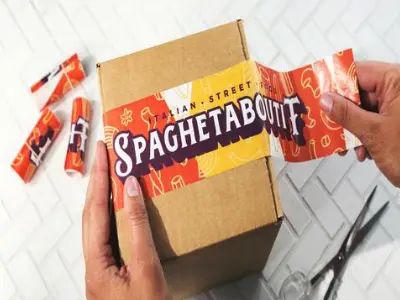
Cricut transfer tape is an adhesive sheet that is used to move designs cut with a Cricut cutting machine from the backing paper to your desired surface.
It’s available in clear or blue so you can easily see your design while applying it, but many still wonder how to use Cricut transfer tape – and that’s what we’re here to show you!
How To Use Cricut Transfer Tape

To use Cricut transfer tape, first, cut your design out on a Cricut cutting machine. Then weed away the excess vinyl or paper around your design.
Next, apply the transfer tape to the weeded design and rub it down well.
Finally, peel off the backing paper and apply your design to your desired surface.
If you are new to using a Cricut machine, be sure to check out our other beginner tutorials such as how to set up your Cricut machine and how to make your first cut.
Step by Step Instruction on How To Use Cricut Transfer Tape?
1. Begin by cutting your design out of vinyl using a Cricut or other cutting machine.
2. Weed away any excess vinyl, leaving your design on the transfer tape.
3. If your design is multi-layered, use painter’s tape to secure each layer to the transfer tape before moving on.
4. Carefully place the transfer tape with your design onto your project surface.
5. Use a scraper tool or credit card to firmly press down the vinyl and adhere it to your project surface.
6. Slowly peel away the transfer tape at a diagonal angle, being careful not to pull up any of the vinyl designs with it.
7. If necessary, use a small tool such as an X-acto knife or tweezers to help remove any air bubbles or bumps from underneath the vinyl.
8. Repeat the process for any additional designs, and enjoy your finished project!
Advantages of Cricut Transfer Tape

There are many advantages to using Cricut transfer tape when working with vinyl designs.
Some of these include ease of use, precision placement, and protection from air bubbles or other imperfections during application.
Additionally, Cricut transfer tape is available in a wide variety of colors and finishes that can be used to create unique and beautiful designs on any type of surface.
Whether you are new to using vinyl or an experienced crafter, Cricut transfer tape is an essential tool for all your crafting projects.
DIY Cricut Transfer Tape Projects

If you’re looking for some fun and easy DIY Cricut transfer tape projects, we’ve got you covered. Check out our favorite projects below.
Vinyl Monogram Tumblers: These tumblers are a great way to show off your personal style.
Simply choose your favorite vinyl design, cut it out with a Cricut machine, and apply it to a tumbler using transfer tape.
Personalized Glasses: Another great way to use Cricut transfer tape is to create personalized glasses.
This is a perfect project for weddings, anniversaries, or any other special occasion.
Customized Phone Cases: Add a touch of personality to your phone case by using Cricut transfer tape to apply vinyl designs of your choice.
This is a fun and easy way to make your phone stand out from the crowd.
Wall Art: Vinyl designs are a great way to add some personality to your walls. Cut out your favorite design, apply it to a canvas or glass panel, and enjoy your new piece of art!
Home Decor: Vinyl can also be used to create customized home decor items.
Make a set of coasters with your family’s initials, or add a special touch to vases or frames with vinyl designs.
Clothing: Cricut transfer tape can be used to apply vinyl designs to clothing as well. This is a great way to personalize t-shirts, jackets, or any other article of clothing.
Gifts: Vinyl projects make great personalized gifts for friends and family.
Whether you’re looking for a stocking stuffer or a more elaborate handmade gift, Cricut transfer tape can help you create something special.
From small projects to bigger DIYs, there are endless possibilities when it comes to crafting with Cricut transfer tape.
Read our related article on How to Make Wedding Invitations With Cricut! We share everything you need to know to make your big day that much more special!
Disadvantages of Cricut Transfer Tape

One of the main disadvantages of Cricut transfer tape is that it can be difficult to work with.
- If you’re not careful, it’s easy to accidentally apply the vinyl design to the wrong surface or to peel up the design when removing the tape.
- Another downside of using Cricut transfer tape is that it’s not always possible to achieve a perfect alignment when applying vinyl designs. This can be frustrating if you’re working on a project that requires precision placement.
- Finally, Cricut transfer tape can be expensive, especially if you need to purchase multiple rolls for larger projects. If you’re on a budget, this may not be the best option for you.
Despite these disadvantages, Cricut transfer tape remains a popular choice among vinyl crafters and designers, and we love using it.
If you’re willing to put in the time and effort, it can be a great tool for creating beautiful and unique projects.
Wrapping Up
If you’re looking for a versatile and user-friendly vinyl transfer tape option, Cricut transfer tape is a great choice.
With its wide range of benefits, it’s no wonder that this product is so popular among crafters and DIYers. So why wait? Get started on your next project today!
