Want to know how to make planner stickers with Silhouette Cameo?
We love making planner stickers with our Cameo because it’s so easy and it makes our busy weeks look more fun and inviting!
Whether you want to use predesigned sticker packs or create your own for your special events and appointments, you’re sure to love embellishing your planner with stickers you’ve made with your Cameo.
Read on to see how easy it is!
How to Make Planner Stickers with Silhouette Cameo – The Basics
The easiest way to make planner stickers is to buy sticker paper from Silhouette. In Studio, choose a predesigned sticker pack and set it to print on your printer.
Once it’s printed you can put the sticker sheet on your low-tack mat and cut the stickers on the Silhouette.
Use kiss and cut (light pressure) settings to create sticker sheets or cut all the way through.
Why People Love Making DIY Planner Stickers
With the rise of social media and digital tools, many people are seeking opportunities for more hands-on, tactile experiences.
Digital calendars and watch alarms make us feel uptight about coming activities.
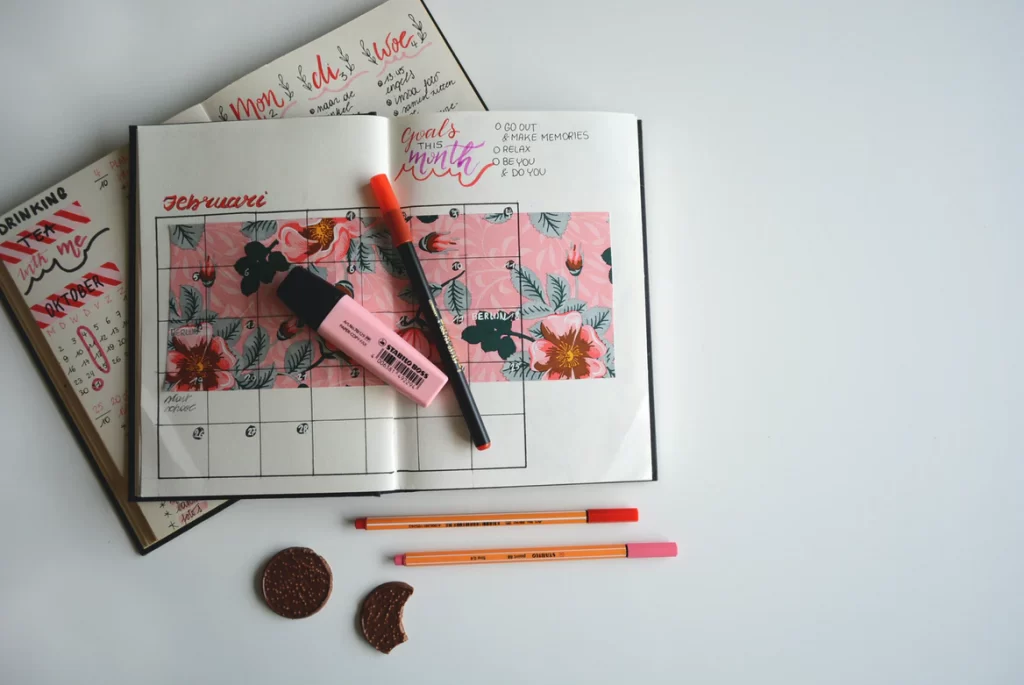
A paper planner with custom stickers provides a more tactile way to see upcoming commitments and appointments.
Since we look at it multiple times a day, it pays off to make it beautiful.
The use of beautiful or cute stickers helps us to be more optimistic about what we have to do in a given day or upcoming week.
Even better, if you can create beautiful or adorable sticker packs that others love you can begin your own business selling sticker packs to like-minded people!
Whether you are an experienced crafter or just starting, the Silhouette Cameo makes it as easy as can be to get started with this fun and rewarding hobby.
You never know what amazing creations you might come up with!
How to Make DIY Planner Stickers Step-By-Step
You’ll find that this project is as simple as can be, thanks to Silhouette materials.
You can get sticker paper from Silhouette in many types of finishes including clear, foil, holographic, glitter, cardstock, and more!
What You Will Need:
- Silhouette Cameo cutting machine
- Silhouette Studio or other compatible design software
- Predesigned sticker pack purchased from an online vendor – .png files (optional)
- Sticker paper in the finish of your choice
- Cutting mat
- Scrap paper
Once you have your materials you’re ready to design as many stickers as you like.
WARNING: This DIY craft is just plain addictive. Once you get started you’re gonna want to make car decals and bumper stickers, stickers for every occasion, and label everything in your house.
How to Make Planner Stickers With Silhouette Cameo
Now that you have all of the materials you need, it’s time to get started on your sticker designs. Here are just a few tips to help you make the most of your Silhouette Cameo.
Start with a base design
Unless you’re working with a specific color or theme, it’s always best to start with a simple base design.
You can later proceed to add any additional details and embellishments.
This will help to ensure that your final design looks clean and polished.
Use a variety of materials
As we mentioned before, the Silhouette Cameo can cut a wide variety of materials.
This means that you can experiment with different textures and finishes to create unique and one-of-a-kind stickers.
FUN FACT: Silhouette’s wood sheets are self-adhesive. Think about embellishing keepsake books, planners, and diaries with wood designs.
Be creative
Don’t be afraid to think outside the box when it comes to your designs. The possibilities are truly endless with the Silhouette Cameo.
So go ahead and let your creativity shine!
We recommend starting with easy projects. Use designs from Studio or sticker packs and once you’re comfortable with cutting them out you can get more creative as you go.
If you’re looking for more fun projects to do, check out this article on How to Make Magnets with Cricut Maker!
How to Cut Your Planner Stickers With a Cameo
Once you’ve picked your materials and decided on the type of stickers you want to make, all you have to do is cut them out with your Cameo. Here’s how to do it.
- Open Silhouette Studio and open page setup. There are a few things you have to do before you can begin to design your stickers.
- Open Page Setup and turn registration marks on. Leave the default settings there. (Registration marks tell the cutter exactly where your image is so it cuts right.)
- Under the “edit” menu click “preferences” then “import.” On the right side, you’ll see an option to autotrace .png images. Make sure that box is clicked. (This setting automatically traces .png images so you don’t have to do it by hand.)
- Click “apply” then “OK.”
- On your design workspace make a rectangle. You can do a full 8 1/2 x 11 sheet or create two 4×5 sheets on a single page. The rectangle you create on the working grid is where the machine will cut.
- Use clipart or other .png images, create text, whatever you want cut inside your rectangle. Be sure to group the stickers together so the program automatically creates the right spacing between stickers.
- Double-check the cutting lines on the screen. If you see cutting lines where they shouldn’t be, select it and click “no cut.”
- Print your sticker sheets with your printer. Be sure to not smudge the ink before it dries. (DO NOT move your sticker locations after printing because they won’t cut right!)
- Place the sticker paper on your cutting mat.
- The sticker paper you purchased will have settings on the package to tell you which blade and settings to use to cut the paper.
- Turn the Silhouette on and send the sticker file to the machine for cutting. The machine will pull in your page and read the registration marks to figure out where to cut before it begins to cut.
Once the machine is done cutting you can pull your stickers off of the page and enjoy them.
Sticker Cutting Options for the Silhouette Cameo
There are 2 types of cuts you can use to make planner stickers.
You can kiss cut the stickers so that you can peel them off when you want them, or you can cut them out and store them in a bundle.
Here are the settings to kiss cut the stickers:
- BLADE: 3
- FORCE: 10
- SPEED: 4
- PASSES: 1
If you have only one sheet of stickers and you want them all kiss cut, then simply send the design to the cutter and let it go.
If you want to also cut out around the sheet of stickers, or if you put 2 sheets on the page, you’ll want to fully cut around the edge of each sheet.
Before removing your sticker sheet from the cutting mat, select that cutting area around the sheet and change your settings to these to cut all the way through:
- BLADE: 3
- FORCE: 25 (or 32 if you have a dull blade like me)
- SPEED: 4
- PASSES: 1
This will separate your sticker sheets completely so you have a sticker sheet with peel-off stickers just like you buy at the store!
You can also use the complete cut settings to cut out labels and create sticker packs for sale.
These are a favorite for sticker collectors and fetch a little more money than full sheets.
Once you get started making stickers you may consider expanding your creativity to vinyl decals which can be used on just about any type of surface you want.
Check out this video on how to make Kiss Cut Stickers with the Cameo 4:
Read More: How to Make Vinyl Labels with Cricut Maker. Have a Cricut machine? We’ll show you how to make vinyl labels step-by-step!
5 Creative Ways to Use Planner Stickers
1. Decorate your planner Cover
We have a terrible time finding a new planner every year that really expresses our personality and goals for the upcoming year.
Large stickers are especially good for decorating the outside of a nondescript planner to make it more appealing to use for the upcoming year.
2. Decorate Your Planner Pages
This is the most obvious use for planner stickers, but you can still think outside the box. Use a wide variety of sticker finishes for various upcoming events.
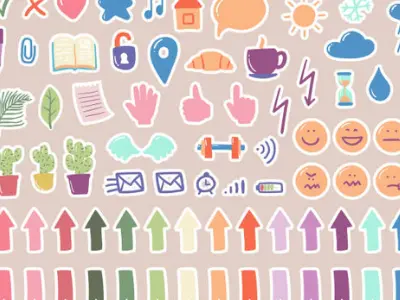
Think about fun symbols to represent the people in your life and use them to mark birthdays, anniversaries, graduations, parties, and other fun events.
Use symbols to represent doctor’s appointments, business meetings, and community events.
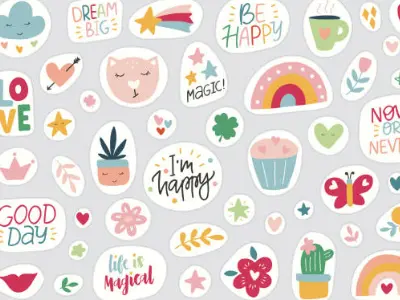
Use custom stickers to remind you of personal goals as you go through the year.
Find shapes and pictures that inspire you to have your best year ever and use them throughout the pages!
3. Customize your notebooks
Give your school notebooks a makeover by adding some custom stickers. This will add some personality to your school supplies.
It can also help you keep track of important pages or assignments.
4. Spice up your scrapbook
Are you looking for a fun way to mark events from the past year or simply want to add some cute decorations?
Planner stickers are a great option for all types of scrapbookers. With the variety of materials available, you can create stickers that match any style or theme.
5. Jazz Up Your Mail
Sending greeting cards, thank you notes, birthday cards, and holiday greetings?
We all love to give and receive snail mail from time to time, but communication has become a less tactile and fulfilling experience.
Bring back all the feelings of receiving a hand-written note by decorating the inside and the envelope with some thoughtfully designed stickers!
6. Create Custom Labels and Hang Tags
If you have a business that uses labels and hang tags you can easily customize a more generic style of tags with stickers.
Check out our favorite die cut machine of 2022 and see why the Silhouette Cameo won in our head-to-head testing competition!
Wrapping Up
With the Silhouette Cameo and a little bit of creativity, there’s no limit to what you can achieve when it comes to making planner stickers.
While it sounds like a lot of steps at first, once you do a sheet of stickers you’ll see how easy it is and you won’t want to stop!
Whether you’re decorating your planner for yourself or creating custom stickers for a friend, there are endless possibilities to explore when it comes to crafting your own designs!