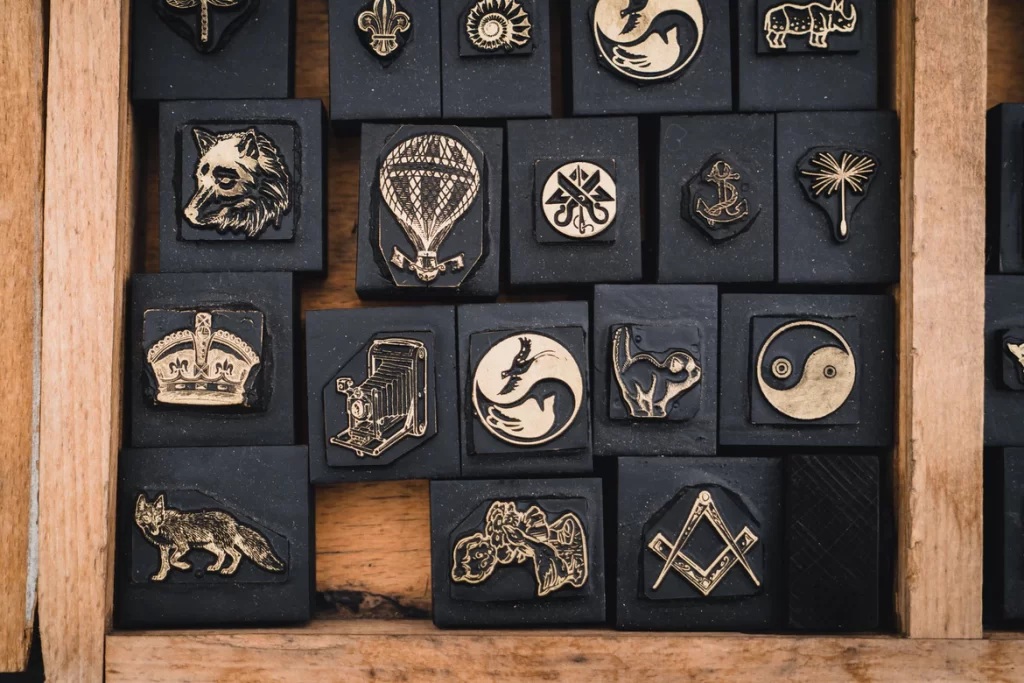
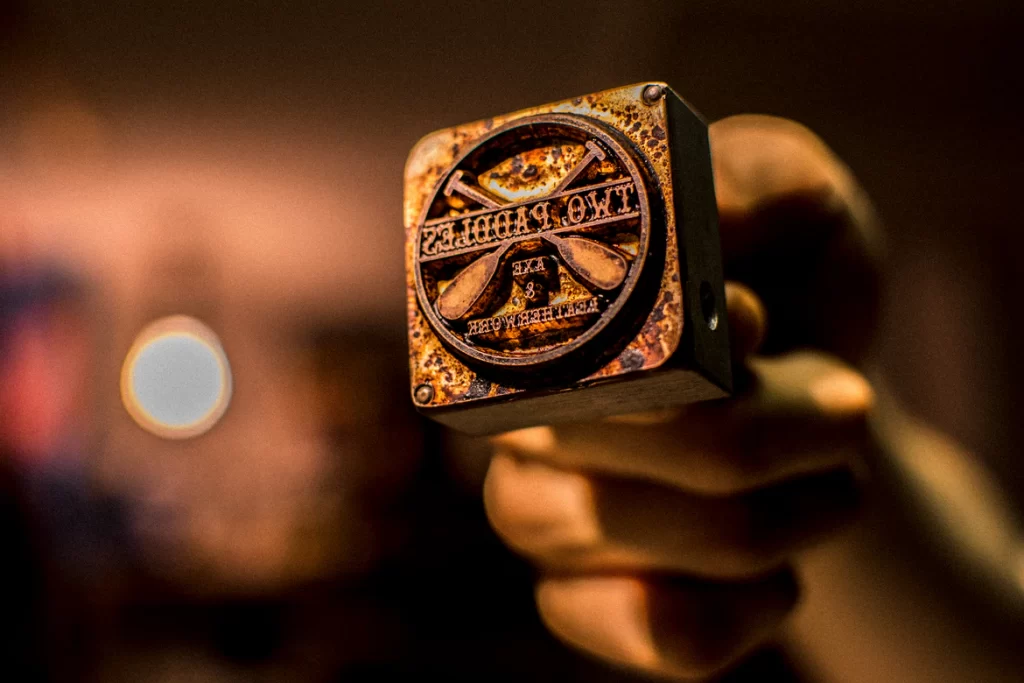
Cricut used to make stamp blanks that you could cut for custom stamps with your Cricut machine. They no longer sell these. So can you still make stamps with Cricut?
You bet! We’ll show you how to make stamps with Cricut using other supplies that you can get from your local craft store. Let’s get started!
How To Make Stamps With Cricut

Cricut Maker is the optimal machine for cutting rubber sheets. The Explore Air 2 is another good option.
The best material for stamp cutting with Cricut is a thin rubber sheet that you can buy at a craft store, home improvement store, or online. The Cricut can’t cut anything thicker than 1/16″.
Search for “1/16″ rubber washer” online or at your local home improvement store. You’ll get a 6×6 inch sheet for a few bucks.
You can pick up furring strips for stamp blanks while you’re there.
You’ll also need the Deep Point Blade, a purple StrongGrip mat, painter’s tape, Design Space, and a wood block, stamp blank, or furring strip cut to size.
Load a simple design into Design Space and size it to fit the stamp. Mirror if necessary (words and directional designs).
Use a brayer for Cricut to firmly secure the rubber sheet to a StrongGrip mat.
Tape the edges of the rubber down with painter’s tape to keep it from slipping during cutting.
Set the machine to cut using the neoprene setting. You may need additional passes to cut all the way through your design. Check before lifting the rubber off the mat.
Remove and weed the rubber design then use a sturdy glue like E6000 to secure it to the wood blank.
Consider stamping the design on the top of the wood blank first, so you know what it looks like at a glance.
To make your stamp more durable, you can apply an acrylic sealer to the surface. Simply apply a thin layer of sealer to the stamp and allow it to dry completely.
This step is optional, but we recommend it if you plan on using your stamp frequently because it makes it a little easier to wash.
And that’s it! You’ve created your custom stamp using just a few simple supplies.
Be sure to use your new stamp on all sorts of projects, from greeting cards and scrapbooks to gift tags and packaging.
Read More: Cutting Wood Veneer With Cricut Explore Air 2. Get clean cuts every time with our guide to the wood you can use with your Cricut Explore Air 2!
The Benefits of Making a Stamp With Cricut
There are many benefits to making a stamp with Cricut.
- It is a great way to add your personal touch to any project. You can use them for scrapbooking, card making, or even organizing your planner.
- They are straightforward to make and only require a few materials.
- You can use stamps to price goods for sale, address envelopes, or add your logo to hang tags.
- Use stamps and fabric-safe ink to put your logo and size information on handmade apparel for tag-free comfort.
- Make name stamps for labeling kids’ clothing, coats, hats, gloves, books, and other materials they frequently lose.
It’s surprising the ways you think to use stamps once you begin designing your own with Cricut!
Read More: Making Butterflies With Cricut. Butterfly crafts are great for all sorts of projects, decor, and more! Here are the steps to get started.
Tips for Successfully Making a Stamp With Cricut

If you’re looking for how to make stamps with Cricut, there are a few things you’ll need to keep in mind!
- Choose the right image. Complex images are super hard to cut out, even with the Cricut Maker. Try simpler shapes and wide letters until you see what your Cricut can do.
- Don’t try to cut rubber thicker than 1/16″ because it’s too hard for the Cricut.
- Always use the Deep Cut blade. The knife blade can do it, but the results aren’t dazzling.
- Be sure to mirror any image that needs to be directional once it’s stamped. You can actually put the stamp on so it looks right without mirroring, but the nice cut edge may not be the one that contacts the ink and paper.
Stamps are a great way to add a personal touch to any project. Whether you’re making cards, scrapbooking, or creating a notebook, stamps are fun!
With Cricut, the possibilities are endless!
Read More: How to Make Paper Sunflowers With Cricut. Paper sunflowers can be used for decoration, invites, scrapbooking, and more! Get started with our tutorial.
Want to learn how to make super cheap stamps with craft foam? You can do it, though the results aren’t as durable.
However, if you want to make craft foam stamps with your Cricut, this gal will show you how!
Read More: Can You Emboss With a Cricut Explore Air 2? We share embossing tips, tricks, and steps!
Wrapping Up
Cricut doesn’t make their branded stamp materials anymore, but you can still use rubber sheets and wood blanks to make personalized stamps on the cheap.
If you already have the Cricut Maker and StrongGrip mat, you should be able to make quite a few stamps while spending less than 10 bucks. What a deal!

