It’s no secret that the Cricut Maker is one of the best crafting tools on the market. It can cut a wide variety of materials, including paper, vinyl, and even leather!
However, in order to get the best results from your Cricut Maker, it’s important to calibrate it correctly.
In this blog post, we’ll show you how to Calibrate Cricut Maker for optimal performance.
How to Know it’s time to calibrate
Calibrating your Cricut Maker may seem like a daunting task, but it’s actually pretty simple.
The first thing you need to do is make sure it’s time to calibrate. If your Cricut isn’t cutting accurately, it may be time to calibrate.
If you’re not sure, you can always check the user manual as it usually will have recommended times on when it’s time to calibrate.
Read More: Cricut Not Cutting Through Vinyl. Here’s how to troubleshoot your Cricut to cut through vinyl!
When Should You Calibrate Your Cricut?
Most Cricut machines come with a set of default calibration settings.
However, if you find that your cuts are not as accurate as you would like them to be, you may need to calibrate your machine.
There are a few different factors that can affect the accuracy of cuts, such as the type of paper you are using or the age of your blade.
Depending on how often you use your Cricut, you may need to calibrate it every few months or every few weeks.
How to Calibrate a Cricut Machine
- Make sure that your blade is sharp and the paper is clean. A dull blade or dirty paper can cause inaccuracies.
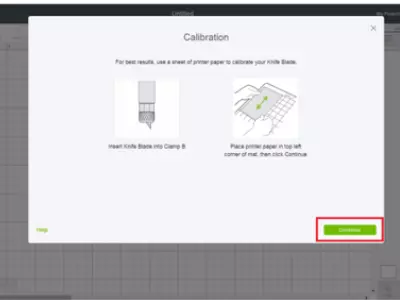
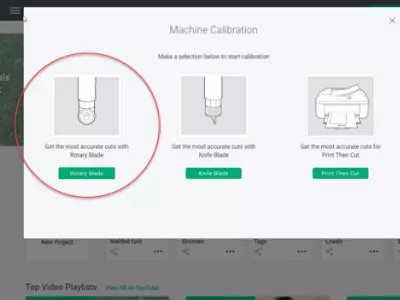
- Select the “Calibrate” setting on your Cricut machine.
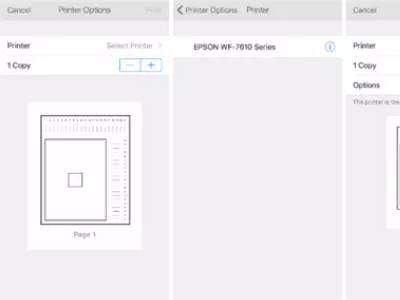
- Place a sheet of calibration paper onto the cutting mat. Place the paper on the top right corner of the cutting mat. send it through the machine.
- Press “Continue”. The machine will start cutting the calibration paper.
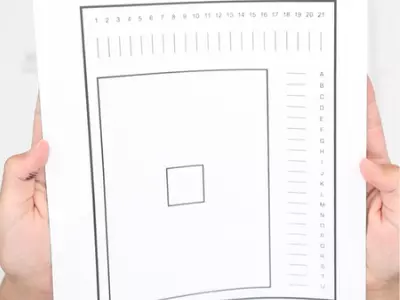
- After finishing the screen instructions will prompt a message saying to check the line and cut accuracy.
- The screen instructions will tell you to select the number that touches the middle of the line, after doing that click the continue button.
- Then the calibration is complete. Try out a design with scrap to check the cut accuracy.
Here’s a great video showing you a visual on how to calibrate Cricut maker:
Read our related article on How to Calibrate Your Cricut Explore Air 2 to see how it’s done for this machine!
Is It Necessary To Calibrate A New Cricut Machine?
If you’ve just purchased a new Cricut machine, you may be wondering if it’s necessary to calibrate it before use.
The answer is yes!
Calibrating your machine ensures that it’s able to cut accurately and consistently.
It only takes a few minutes to do, and it can make all the difference in the quality of your cuts.
Although, the new Cricut machines come calibrated from the factories, however, over time the Calibration might change.
So, it’s best to make a safe call and calibrate your new machine.
Conclusion
We hope this article has helped you learn how to Calibrate Cricut Maker.
By following the given steps in this blog post you will easily be able to calibrate your own Cricut and continue to do your personal DIY projects.
Thanks for reading!
Further Reading
- Cricut Alternatives – Which Is The Best Choice For You?
- Best Vinyl Cutting Machine Reviews
- Best Cricut Projects For Fun