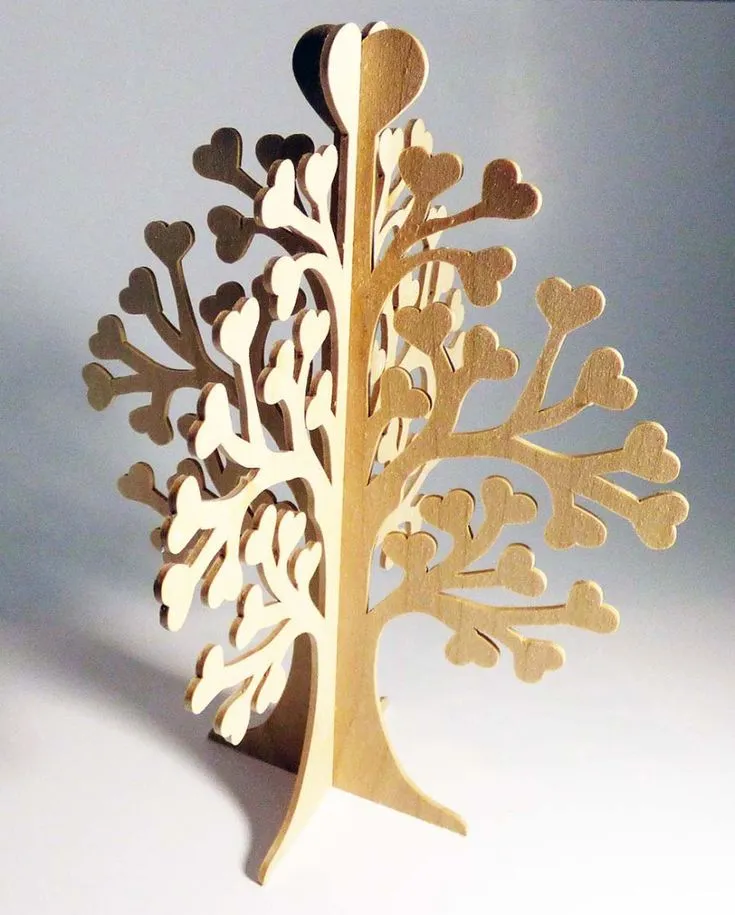
Do you want to learn how to cut wood with Cricut Explore Air 2?
We’ll teach you everything you need to know about using your Cricut machine to cut wood, and which types of wood you can use.
How to Cut Wood With Cricut Explore Air 2

Materials to Cut Wood With Cricut Explore Air 2
Everyone knows you can cut paper and vinyl with a Cricut machine, but the Cricut Explore Air 2 also cuts through wood veneer like a dream. We’ll show you how.
The Cricut Explore Air 2 is a great option for cutting wood veneer because it comes with a deep point blade that can make clean cuts through thicker materials.
First, you’ll need to gather your supplies.
- Explore Air 2 or Cricut Maker
- StrongGrip cutting mat
- Deep point blade
- Cricut wood veneer sheets
- Design Space
- Painter’s tape
- Brayer for Cricut
Once you’ve gathered your materials you’re ready to load and cut!
Read More: Difference Between Glowforge and Cricut. These crafting machines both have their uses, but which one is right for your projects?
Use the Cricut Explore Air 2 to Cut Wood Step-by-Step
First, you’ll need to choose or draw your design in Design Space.
There are many lovely project options that you may want to choose from for your first projects.
Once your design is chosen and loaded into your Cricut for cutting, follow these steps to achieve perfect wood veneer cuts.
- First, select the material setting for “wood veneer” in the Cricut Design Space software. Then, adjust the pressure settings until they are at their highest level.
- Next, load your wood onto the cutting mat. Use a StrongGrip mat and brayer to get firm adhesion.
- Use painter’s tape to secure all edges of the veneer so it doesn’t slide during cutting.
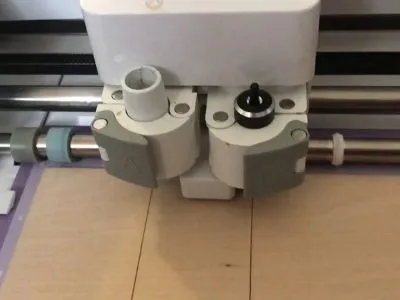
- When prompted, insert the deep point blade into your machine.
- Press “cut” and watch as your Cricut Explore Air 2 machine starts cutting through the wood.
- Once the design is cut, lift a part of the design with tweezers to ensure it’s cut all the way through before removing the design from the mat.
- It can help to gently bend the wood design to help it separate from the wood remainder and mat.
Cricut wood veneers have different thicknesses and woodgrain patterns so each project you cut will look a little different or may require more passes to cut through.
Check out this video for a visual guide:
Read More: Cricut Maker vs Explore Air 2. We tested and compared these two machines and here are our results, recommendations, and guide!
How to Use the Deep Cut Blade to Cut Balsa Wood

Anytime you want to cut balsa wood with your Cricut Explore Air 2, you’ll need to use the Deep Point Blade.
This blade can cut through thicker materials than the Fine Point Blade and can make deep, precision cuts.
To get started, you’ll need to gather your materials.
You’ll need the Deep Point Blade, a StrongGrip cutting mat, painter’s tape, and your piece of wood.
- In Cricut Design Space, adjust the material settings for balsa wood.
- Secure the balsa wood to the StrongGrip mat and brayer then tape the edges down with painter’s tape.
- The machine will make multiple passes to cut through the wood. If it still is not cut through when it’s finished, hit “C” to add additional passes.
- Check the cuts before removing the balsa wood from the mat to make sure the design is cut through.
- Use utmost care to remove the balsa wood from the mat. It’s very prone to cracking and breaking.
The only thicknesses of balsa wood that you can cut with Cricut are 1/32″, 1/16″, and 33/32″.
Read More: How to Load Mat Cricut Joy. If you’re new to Cricut, we show you how to load your Cricut mat in this short guide!
Advantages of Using the Cricut Explore Air 2 to Cut Wood

Most people think of cutting wood as a tedious and time-consuming task that requires special tools and expertise.
However, with the Cricut Explore Air 2, anyone can easily and quickly cut wood with professional-looking results.
Cricut Explore Air 2 and the Cricut Maker are two machines that can use a deep-cut blade that is designed for cutting thicker materials like balsa wood and wood veneer.
To use the deep-cut blade, simply load it into the machine and select the “Deep Cut Blade” setting in Design Space.
Then, load your material onto the cutting mat and send your design to the Cricut Explore Air 2.
The machine will do the rest, quickly and accurately cutting your wood according to your design.
One advantage of using the Cricut Explore Air 2 to cut wood is that it minimizes waste.
The machine is very precise, so it can cut wood exactly to size with very little excess material or dust.
Another advantage of using the Cricut Explore Air 2 is that it doesn’t leave track marks.
Saws can leave unsightly marks on wood, but the Cricut Explore Air 2’s cutting blade is sharp – it leaves a clean edge.
Finally, the Cricut Explore Air 2 is very easy to use. Simply load your chosen design onto the machine and let it do its work.
You don’t need to be an experienced woodworker to use this machine – anyone can get great results with minimal effort.
Read our related article on How to Use a Cricut Maker. This guide is PERFECT for beginners, so if you’re new to Cricut, this is a great place to start!
Wrapping Up
It can take a couple of tries to achieve the results you want with most crafts, but the Explore Air 2 makes it super easy to get the exact wood cuts you want on the first try!
We recommend choosing simpler designs first while you get the feel of cutting wood with Cricut before moving on to intricate designs.
Once you start, we know you’ll love it!
