Knowing how to cut multiple colors on one Cricut mat can be a great time-saving trick when you’re working on a multi-colored project.
In this blog post, we’ll show you how to cut multiple colors on one Cricut mat in a handful of easy steps!
How to Cut Multiple Colors On One Cricut Mat Step-By-Step
Cutting multiple colors on one Cricut mat can be tricky, so it’s important to be patient. If you make a mistake, don’t worry – just try again.
With a little practice, you’ll be cutting like a pro in no time!
Check out all the steps below to understand how to do it.
Choose Your Design
Select whatever design you’re looking to try.
Sometimes starting with a simple design is key if you’re just starting out.
Organize your design
Organize your design by regrouping your design and laying out the separate layers according to your liking and your Cricut mat.
Once you have an idea of the placement, begin cutting out each color.
Layer Your Design
For a multi-layer design, begin by cutting out the bottom layer first. Then, adhere that layer to your project base.
Next, cut out the second layer and adhere it to the top of the first layer. Repeat this process until all layers of your design are cut out and assembled.
If you need to attach multiple layers at once, use brads or small strips of double-sided tape to secure the layers together temporarily.
Read More: Can Cricut Explore Air 2 Cut Wood? Yep – and here’s how you do it!
Attach the design
After you lay out the design in your Design space, it’s time to attach it to your Cricut machine.
Make sure the design is highlighted in the software and then click on the “Attach” icon.
When you attach something, you are informing the Design space that these pieces will remain together when your project is being cut.
This will bring up a new window with your design and a workspace for setting your blades and material settings.
When you’re satisfied with your settings, click “Continue” to send your design to your Cricut machine.
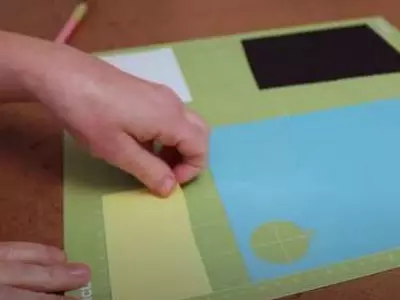
Align your Design
Using the virtual mat in your Design Space you will have to align your design accordingly.
That virtual mat will help to indicate how to place your vinyl or colored material.
Basically, this is ensuring that the part of your design is over the correct color on top of the mat.
If you have placed your design perfectly, it will cut out all the colors in one go without having to readjust anything.
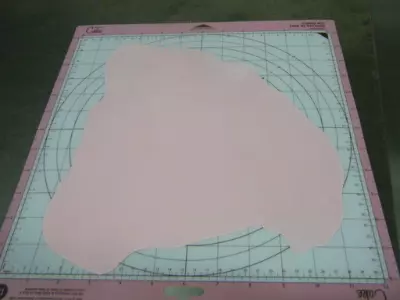
Place the color paper as per the measurements shown on the virtual mat.
Your design will be according to that size and structure, so use the virtual mat correctly to avoid any mistakes.
Now that you know how to attach and align your design, it’s time to cut!
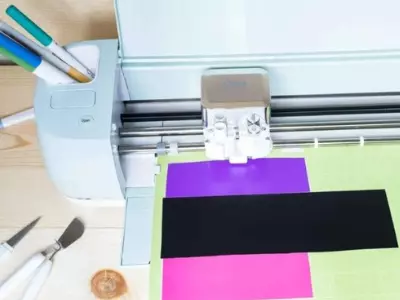
Cut the Design
After you have placed the colored papers onto the Cricut cutting board, it’s time to cut the design.
To do this, simply select the “Cut” button on the Cricut machine and watch as it precisely cuts out your design.
If you’re not satisfied with the results, simply adjust the settings on the Cricut machine and try again.
Here’s a quick video showing you how to do this:
Read More: How to Load Cricut Mat. If you’re having problems with your mats, here’s how to troubleshoot!
The Benefits and Drawbacks of Using this Method
Benefits
One of the benefits of using this method is that you don’t have to repeat all the cutting multiple times.
Everything gets done in one single cut with one single mat.
Getting everything done in one single cut allows you to be organized so you can move one step at a time.
Drawbacks
Some of the drawbacks that can be said for this method is that you have to completely re-do the design alignment and measurements according to your color papers and the measurement mat.
It can be an easy process for a small-scale DIY project, but if you are creating in bulk then this might be a rather time-consuming method.
The more colors in the design the more time it requires.
Read More: How to Cut Felt with Silhouette Cameo 3. Cutting felt with a Cameo is a breeze! We show you how.
Conclusion
We hope this blog post was helpful in helping you to cut multiple colors on one mat.
Practice makes perfect so just take your time learning a technique that works for you!
Further Reading
- Cricut Alternatives – Which Is The Best Choice For You?
- Best Vinyl Cutting Machine Reviews
- Best Cricut Projects For Fun