In this blog post, we’re going to show you how to contour in Cricut Design Space.
Contouring is a great way to add depth and dimension to your designs.
Contouring can be a bit tricky to learn at first, but with a little practice, you’ll be able to create beautiful contoured designs that will impress your friends and family!
Cricut Design Space Contour Tool
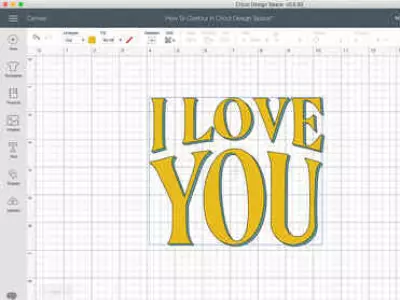
The Contour Tool is one of the most essential tools available on Cricut Design Space. It’s used to remove lines from an image.
The lines you delete won’t be cut when you go to make your project.
It’s great for making an image or project what you want it to be by editing out certain parts or changing how the lines are in the image.
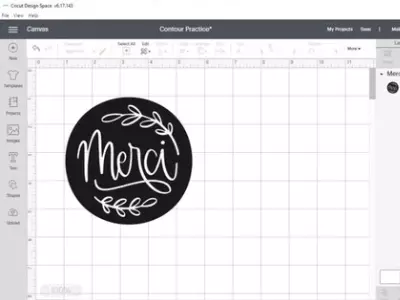
How to Use Contour Tool
Now that you know a bit more about what the contour tool is used for, let’s find out how to use it.
Here’s how to use the contour tool in 3 EASY steps!
- The tool can be found in the Edit tab.
- Select the image you want to edit and click on the Contour Tool.
- Use your mouse to click on the lines you want to remove. The lines will be removed, and you’ll be left with a simplified image that’s easy to work with.
Here’s a great video showing you how to use the contour button:
Read More: How to Use Templates in Cricut Design Space. Templates can be a great place to start your projects! Learn how to get started.
When should you use the Contour tool?
The contour tool is a frequently used editing tool by crafters. Usually, it’s used to remove lines on an image.
The Cricut machine will cut out all lines if they aren’t edited out. Sometimes to make a design simpler you can delete the lines.
Read More: How to Slice Text in Cricut Design Space. There are many tools within Cricut Design Studio and Slicing is another that’s useful to know.
Where is the contour button found?
On a PC, the Contour button can be found in the top right corner of the screen.
On a phone, the button is located in the bottom left corner.
The icon is a dashed-line circle.
When you click on the button, a drop-down menu will appear with 3 options:
- Create Shape From Selection
- Delete Shape
- Edit Shape
Choose the desired option and then click on the shape that you want to modify.
Read More: Can You Unweld On Cricut? Learn all about welding and unwelding on Cricut maker!
Using the Hide Contour Window
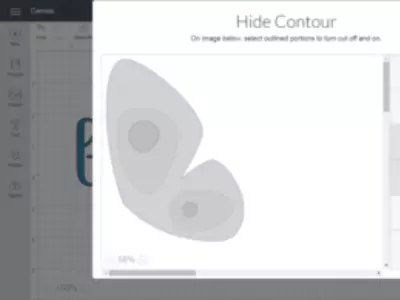
The Hide Contour Window is a gray-scale version of the original image that’s used to create the cut lines.
It allows you to see the individual cut lines that make up the image.
Here’s how to use this window:
Select Layer
To use the Hide Contour Window, you need to first select the layer that you want to hide.
Next, click on the button in the upper left corner of the window.
Edit Layer
This will bring up a menu of options.
Select “Hide Layer.” This will gray out the selected layer and make it invisible.
You can also use the “Filter” option to further customize how the layer is hidden.
The “Invert” option will invert the colors of the layer so that it’s visible again.
You can also adjust the opacity of the layer by clicking on the “Opacity” slider. Adjusting the opacity will make the layer more or less visible.
Read More: What Does Flatten Do in Cricut Design Space? Learn all about the flatten tool in this guide!
Conclusion
The contour tool is a very useful tool in Cricut Design Space and we hope you have a better understanding of how this tool works now!
Further Reading
- Cricut Alternatives – Which Is The Best Choice For You?
- Best Vinyl Cutting Machine Reviews