Do you want to learn how to make patches with Cricut? If so, you have come to the right place!
In this blog post, we will teach you everything you need to know about creating patches using your Cricut.
We will walk you through each step of how to make patches with Cricut and provide tips and tricks.
So whether you’re a beginner or an experienced patch maker, this post has something for everyone!
How To Make Patches With Cricut – The Basics
Make patches with Cricut using iron-on vinyl by cutting the design on the Cricut and then fusing it to a patch blank before sewing it on.
Flocked vinyl makes it easy to create patches with a nice texture.
Embellish the patch with top stitching and use a satin stitch to sew it onto a jacket or backpack for an authentic look.
Use Cricut Infusible Ink transfer sheets or markers and pens to create inked patches with any design you like.
Use an EasyPress to transfer the inked design onto a patch blank and then sew or fuse it on.
Types Of patches

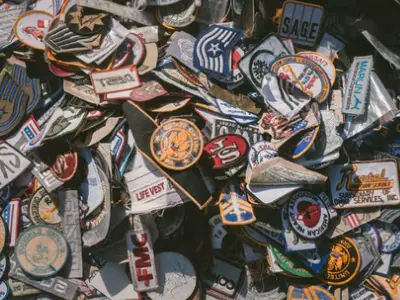
There are three types of patches, embroidered, woven, and printed. Each has its unique benefits that’ll make your patch project turn out amazing.
Embroidered Patches
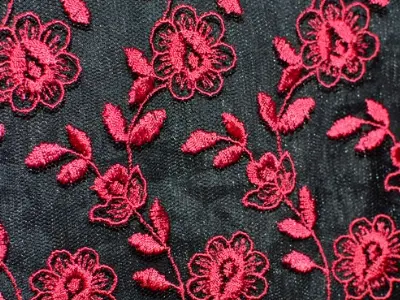
This is the most common type of patch and also the most versatile. Embroidered can be sewn or ironed on and come in a wide variety of thread colors and styles.
Read More: Can You Embroider With a Cricut Machine? Kind of… check out these tips!
Woven Patches
Woven patches are created on a loom using different colored threads to create your design.
They have a smooth appearance with no raised texture making them great for detailed designs.
These patches can also be sewn or ironed on.
Printed Patches
Printed patches are exactly what they sound like; your design is printed onto the patch backing.
These are the most economical option but do have some limitations regarding color and design detail.
Printed patches can be sewn or ironed on.
Read More: Can Cricut Explore Air 2 Cut Magnet? See how to make fun magnets with your Explore Air 2!
How To Make Patches With Cricut – Step By Step

The easiest way to make a patch with Cricut is to make one with iron-on vinyl.
This type of vinyl comes in any color, pattern, or texture you want. Once you cut the patch you can simply iron it on.
You can also cut the vinyl in various pieces then assemble them and iron them on to make multilayer, intricate patches.
The first thing you need to do is gather your supplies. For this project, you will need:
- A Cricut cutting machine
- Iron-on vinyl
- An EasyPress or iron
- Weeding tools
- Scissors
- A piece of fabric (we recommend a sturdy cotton fabric)
Once you have gathered all of your supplies, it is time to start creating!
Read More: How Do I Use Pattern Fill in Cricut Design Space? It’s easier than you think! We show you the steps.
Step 1: Cut Your Design
The first step is to cut your design out of the iron-on vinyl. Simply load your vinyl onto your cutting machine and follow the prompts to cut out your design.
Weed away the excess vinyl.
For your first patch, use a simple design template from Design Space. After you’ve done a couple simple patches you’ll find it much easier to branch out into layered designs.
If you choose to make a multilayered patch from iron-on vinyl you’ll have to break apart your patch into the various components and cut each piece from different colors of vinyl.
Use Design Space to snip each piece away from the original design and set it for cutting on a separate piece of vinyl.
Cut a piece of fusible fabric to the shape of the completed patch.
Once the vinyl pieces are cut, layer them as desired on a piece of fusible fabric.
Use the EasyPress to Press the design together on the fusible fabric. Once it is cooled you can bond or sew it on.
Read our related article on the Best Way to Cut Felt With Cricut Maker. If you’re new to working with felt, we’ve got you covered in this step-by-step guide!
Step Two: Iron-On Your Design
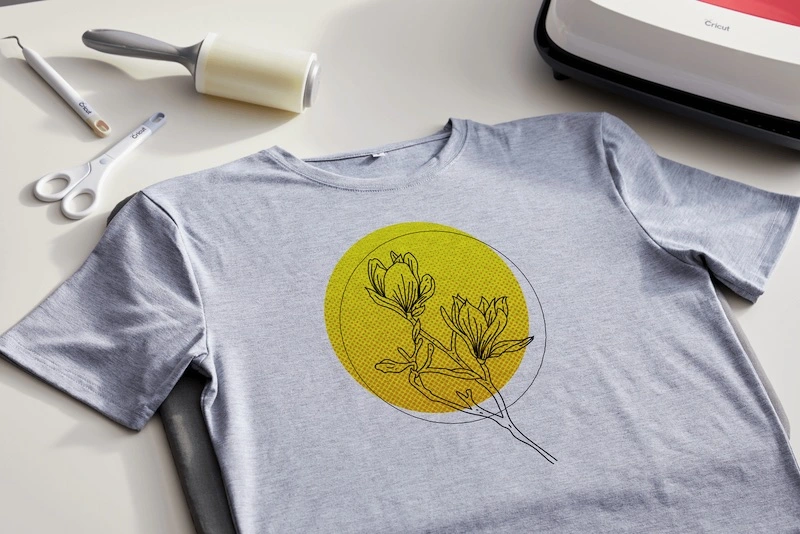
To iron your design onto the patch fabric, preheat the EasyPress or iron. Then use a lint roller to clean the fabric you’re bonding to and preheat the fabric with the EasyPress.
Then, take your weeded vinyl design and place it bond-side down on your fabric.
Once your design is in place, cover it with parchment paper (to protect the iron) and iron over the top.
Apply firm pressure and move your iron around in small circles for about 30 seconds.
Then, let your design cool for a few minutes before removing the parchment and vinyl backing.
Step Three: Sew-On Your Patch
If you don’t plan to iron on your patch, then you can sew it on, which will give it a more authentic patch look.
You can also add top-stitching and other details to give it more texture and flair.
The final step is to sew your patch onto whatever you want! This can be a jacket, backpack, or anything else you can think of.
To attach your patch, simply stitch around the edge of the design using a needle and thread.
You can use a basting stitch to attach it lightly, or a satin stitch to firmly hold all the edges beautifully.
And that’s it! You’ve now created a beautiful patch using your Cricut machine.
Read More: Can You Cut Multiple Colors On Cricut? You can cut multiple colors just as long as you follow these steps!
Make Cricut Patches With Infusible Ink Sheets

Infusible Ink has taken the Cricut world by storm because it allows you to create inked designs like a professional printing house but in the comfort of your own home!
Printed patches aren’t as intricate as embroidered or layered vinyl patches, but they’re pretty quick to make and infinitely variable thanks to the sublimation ink technique.
Don’t know what Infusible Ink is? Read all about Cricut Infusible Ink and find out why we love it so much.
The process to make a patch with Infusible Ink sheets is similar to using vinyl except you’ll layer the ink sheets together and then infuse them onto a patch blank.
Once you have the patch made you can put a fabric bond on the back or sew it wherever you want.
- Choose your patch design and use Design Space to break it into pieces by color.
- Cut the design pieces from Infusible Ink sheets using the Cricut fine point blade.
- Weed the negative spaces on each piece, then layer them together on the transfer tape.
- Once the design is complete, use the transfer tape to place the design on a patch blank. This can be cut from a piece of canvas on the Cricut using the bonded fabric blade or fabric wheel.
- Place a piece of butcher paper over the infusible ink design and press it with the EasyPress to infuse the ink design into the patch blank.
Once your design is inked into the patch blank you can use fusible fabric glue or sew the patch anywhere you want.
Here is an awesome video showing you how to layer Infusible Ink sheets to make a custom design. Use this same technique to make custom inked patches.
Read More: Cricut Canvas Size. Use this guide to learn how to adjust canvas size in Design Space!
Make Cricut Patches With Infusible Ink Pens and Markers
There are also Cricut Infusible Ink Pens and Markers that are loaded with sublimation ink that you can use to create custom patches in a snap.
You can get Infusible Ink pens and markers that clamp into a new Cricut like the Maker or Joy, or Freehand pens and markers.
Either way, once the design is inked, it’s permanent.
- Choose your design or create a custom design in Design Space.
- Set the Cricut to draw instead of cut.
- The Cricut will guide you through changing the pens as it draws your design onto the Infusible Ink transfer sheet.
- After it’s done drawing you can have the Cricut cut the design, or you can cut it yourself with scissors.
- Fill in any additional colors with the Infusible Ink markers and pens.
- Place the finished design face-down on your precut patch blank.
- Protect your work surface with cardstock or waste fabric.
- Place butcher paper over the Infusible Ink to protect your iron or EasyPress.
- Press according to Cricut’s direction on the Infusible Ink packaging.
Infusible Ink vaporizes when the heat is applied to the back. The vaporized ink infuses into the fabric it’s ironed onto and becomes a permanent design.
Once your patch is done, you can sew it onto something else or use a fusible backing to iron it on.
Tips And Tricks To Make Cricut Patches Like a Pro!

One of the great things about making patches with your Cricut is that you can let your creativity run wild.
There are endless possibilities for design, and you can even create custom patches using photos.
If you are not the creative type, don’t worry! There are also plenty of ready-made designs available online that you can use for your patches.
Simply search for “Cricut patch designs” or “iron-on patch designs,” and you will be sure to find something that suits your style.
Once you have found or created the perfect design for your patch, it is time to get started cutting!
When cutting fabric with your Cricut machine, keep a few things in mind to get the best results.
- First, be sure to use a sharp blade. A dull blade will not cut through the fabric as cleanly and can cause fraying or uneven edges. Use the bonded fabric blade.
- Use the FabricGrip (pink) mat and a brayer for Cricut to ensure your fabric doesn’t slip during cutting. Clean cuts make it easier to weed out the negative space later on.
- Once your design is cut, it is time to weed out the excess fabric. This process is similar to weeding vinyl – simply use a weeding tool (or your fingers) to remove the small pieces of fabric that are not part of your design. Once you have finished weeding, your patch is almost ready to use!
- The final step is to add an adhesive backing, which will help to keep your patch in place once it is applied.
There are a few different types of adhesive backings that you can use, but heat-activated adhesive works best.
Simply apply the glue to the back of your patch and then heat it with an iron according to the manufacturer’s instructions.
Patches can be used for various purposes, such as embellishing clothing, bags, or home decor items.
They also make great gifts, such as adding a patched jacket or backpack to your next gift.
Wrapping Up
Making patches with Cricut can take a few steps, but it enables you to make customized embellishments for any taste or any occasion.
Try all the different methods of making patches and see which one is your favorite!
