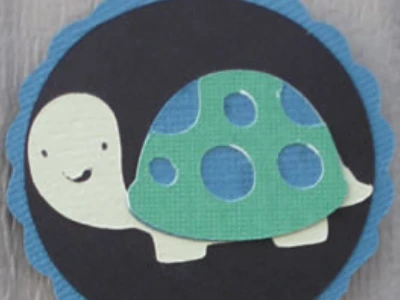
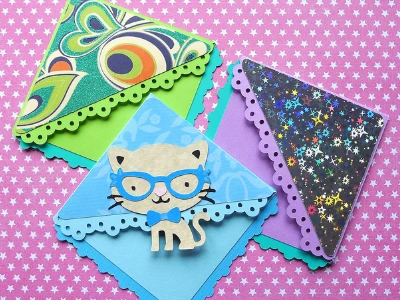
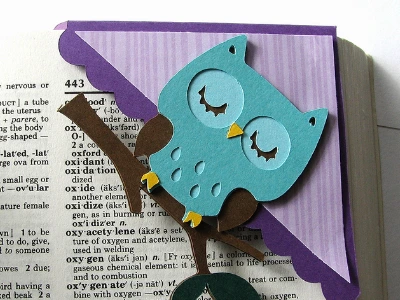
Bookmarks are not only handy for keeping your place in a book, but they also make great gifts.
If you’re crafty, you can make your bookmark with a Cricut machine.
With your Cricut cutting machine, you can easily make professional-looking bookmarks using vinyl, paper, leather, wood, acrylic, or other materials.
Do you want to know how to make bookmarks with Cricut?
In this blog post, we will show you how to make simple and elegant bookmarks using your Cricut machine!
How To Make Bookmarks With Cricut

To make a quick and easy vinyl bookmark with your Cricut, load a bookmark design into your Cricut machine.
Cut it out and weed your design.
Stick it to a bookmark blank (or a piece of cardstock cut to bookmark size).
If you’re not using a bookmark blank, then use a hole punch to make a hole at the top center of the bookmark. Attach a tassel or other decoration.
Embellish the bookmark as desired or leave it plain and simple.
Read More: How to Sell Cricut Projects On Etsy. Get simple steps to start your shop and make profits from your passion!
How To Make a Paper or Vinyl Bookmark With Cricut

You can easily make bookmarks with any Cricut machine.
All you’ll need is heavy cardstock and vinyl for cutting and applying designs.
You can also use a bookmark blank from your local craft store instead of cutting cardstock to size.
- Choose a design or pattern in Design Space and size it so it will fit on the bookmark blank.
- Cut and weed your design then apply it carefully to the bookmark blank.
- Cut as much vinyl as needed to create the design and personalization you want on the bookmark.
- Consider covering the entire design in protective sticker paper or acetate so it lasts longer.
- Add a tassel and embellishments as desired.
If you don’t have vinyl, you can still make a lovely embellished bookmark with cardstock and scrapbook paper.
Simply use Cricut to cut designs into the scrapbook paper and then use scrapbook glue to secure the designs into the cardstock or bookmark blank.
Add a tassel and embellishments to finish.
Make a Wood Bookmark With Cricut Maker
The Cricut Maker machine can cut through wood, leather, and other thick materials.
Wood and leather bookmarks are prized possessions, so they’re great for gifting and selling.
You’ll need the purple cutting mat, tape, Cricut wood veneer, and the Cricut knife blade.
- Choose a Cricut design that will work on a bookmark-sized piece of wood. Use Design Space to program the Cricut to cut the bookmark and the design.
- Keep in mind that very intricate designs will break more easily.
- You’ll have to use your computer to program the Cricut Maker because the cutting takes too long to be loaded from the app.
- Flip your design so that the best part of the cut will be on the front of the bookmark when it’s done.
- Place your wood veneer on the purple cutting mat and use tape to secure it.
- Use the knife blade and one of the wood settings (balsa wood or basswood) to make enough passes to cut the wood cleanly. It can take up to 25 passes to cut wood.
- Remove the design and seal the wood with a wood sealant if desired.
- If your design included a small hole at the top of the design, add a tassel to your finished bookmark.
The process is much the same for cutting leather, though it won’t take as many passes to get through the material.
Make a Bookmark With Cricut Infusible Ink

Cricut Infusible Ink sheets, markers, and pens can be used to create one-of-a-kind bookmarks with a professional inked finish.
If you find this technique is a favorite, consider purchasing sublimation bookmark blanks which are made for taking sublimation ink transfer – perfect for Cricut Infusible Ink designs.
Infusible Inks vaporize when heated, causing the ink to bond with the material. The result is that the color is infused into the material rather than laying on top.
Infusible Ink can be applied to fabric, but it also looks incredible on wood, making for fabulous bookmark design possibilities.
Here’s a simple way to get started using Infusible Ink to make bookmarks. We’re sure once you try it you’ll be inspired to create fantastic bookmark designs on your own.
Materials You’ll Need
- Cricut Infusible Ink sheets, Cricut Infusible Ink Pens and Markers, or a combination
- A heat press
- A wood bookmark blank or wood veneer to cut your own
- Inspiration
If you’re using a wood bookmark blank, then the hard part is done for you.
- If not, use your Cricut Maker to cut wood veneer into rectangle shapes to be used as the bookmark base.
- Use the Cricut to cut designs into the Cricut Infusible Ink sheets that you choose. Designs can be as intricate as you like because the design will be infused onto the wood rather than cut into it.
- For totally customized artwork, use Infusible Ink pens and markers to color onto Infusible Ink transfer sheets before cutting.
- Place the cut design face-down on the wood bookmark and use the heat transfer tool to infuse the ink onto the wood bookmark according to Cricut’s directions that came with the tools and transfer sheets.
Wait for it to cool completely before removing the transfer paper.
You can leave the design as-is or seal with a wood sealant to give the wood veneer some shine and protect the design.
Read More: How to Do Sublimation With Cricut EasyPress. This guide covers more helpful info when using your EasyPress for sublimation printing!
Wrapping Up
With these basic steps, you now know how to make bookmarks with Cricut.
You can get as creative as you want with the designs, colors, materials, and embellishments.
Once you get started making beautiful bookmarks you won’t want to stop!
You may find that you have a good side hustle going once you get the hang of it.
