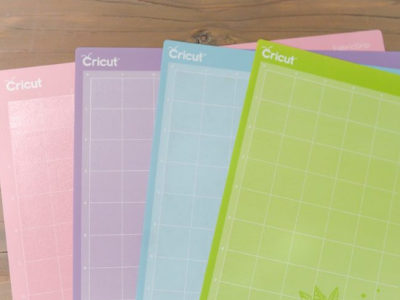
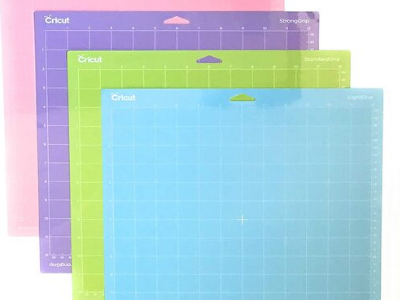
Do you know how to restick a Cricut mat with tacky glue?
If your mat is well used it will gradually use its stickiness, letting your paper slide around and give you less than perfect cutting results.
In this blog post, we will show you how to restick a Cricut mat with Tacky Glue.
This method is straightforward and will help keep your paper in place while you’re cutting!
The Basics

You can restick a Cricut mat with any type of glue that dries to a light tack.
Tacky Glue is the obvious choice, but spray adhesives that remain tacky will also work. You may need to refresh the adhesive regularly.
First clean the Cricut mat completely using soap and water, isopropyl alcohol, or adhesive remover. Ensure it is clean and lint-free before applying any glue.
Use painter’s tape or a similar low-tack tape to cover the edges of the Cricut mat so it doesn’t get sticky outside of the grid area.
Put an even line of Tacky Glue down one edge of the mat, on the inside of the taped area.
Use a scraper or credit card to evenly smooth the glue over the surface of the Cricut mat.
Let the glue dry to tack for about 10 minutes before using. This creates a lighter tackiness good for lightweight paper and materials.
Supplies to Restick a Cricut Mat With Tacky Glue
To learn how to restick a Cricut mat with Tacky Glue. First, you will need to gather your supplies.
You will need:
- A Cricut mat
- Tacky Glue
- Painter’s tape, washi tape, or another low-tack tape
- A flat-edge scraper tool or credit card
Once you have your supplies on hand you’re ready to restick your Cricut mat. It’s easy and doesn’t take as long as you might think!
How to Restick a Cricut Mat With Tacky Glue
When using your Cricut machine, one of the most important things is to make sure that your cutting mat properly adheres to the surface that you are working on.
If not, your cuts will be off, and it can ruin your project. Luckily, it’s easy to restick your Cricut mat with tacky glue.
First, you need to clean your mat. You can use a lint roller or a damp cloth to remove debris.
Read More: Cricut Maker vs Explore Air 2. We put these two to the test and here’s how they compare!
Clean the Cricut Mat First
The first step is to clean your Cricut mat. If your mat is dirty, tacky glue will not stick.
You can use a lint roller or a damp cloth to clean your mat. Remove all debris from the surface.
You can clean your mat in a variety of ways:
- Clean With Soap and Water – Mix a small amount of mild dish soap in warm water. Use a lint-free cloth to wash away dirt, paper scraps, and lint. Let the mat air dry completely before applying glue.
- Clean With Isopropyl Alcohol – This is a very reliable way to get the remaining glue off the mat because isopropyl alcohol is a powerful solvent. Rub it on with a lint-free towel and use a scraper if needed to pull the glue off. Finish with soap and water.
- Clean With Baby Wipes – For lightly dirty mats a baby wipe or two can help clear away dirt, debris, and some glue. You’ll need to use a lint roller when it’s dry to get off the fibers left by the wipes.
Read our related article on How to Clean Cricut Machine. Clean your machine inside and out with these tips and tricks!
Delint the Mat With a Lint Roller
No matter how you clean the mat, you’ll want to make sure it’s lint-free before applying adhesive.
We like to roll it once after cleaning, then again just before applying glue to make sure it’s lint-free.
Restick a Cricut Mat With Tacky Glue: Steps

Once you have cleaned your Cricut mat, you are ready to restick it with Tacky Glue. It’s very quick and easy to do.
Follow our step-by-step instructions for success!
- Mask the Edges – Use painter’s tape, washi tape, or a similar low-tack tape to cover the outside edges of the mat. You only want glue on the grid area. The tape will “frame” the grid with a non-sticky area.
- Use the Lint Roller – Roll the lint roller over the mat one last time to ensure there is no debris on it.
- Apply a Single Line of Tacky Glue – Apply a line of Tacky Glue to only one edge of the mat, on the inside of the tape. You want enough to cover the mat, but not enough to make puddles on the mat.
- Scrape the Glue Across the Mat – Use a credit card or flat scraper tool to gently scrape the glue evenly across the mat. It should be evenly applied and as thin as possible.
- Let the Tacky Glue Dry – Tacky Glue dries to tack in about 10 minutes. It should be clear and have a gentle tackiness, just like a brand new Cricut mat!
- Remove the Taped Edge – Remove the tape from the edges of the mat and use the mat as you would normally.
Now that you know how to restick a Cricut Mat with Tacky Glue, you can get a lot more use out of your mats, at least until they have cuts and gouges in them.
Can I Restick a Cricut Mat With Spray Adhesive?

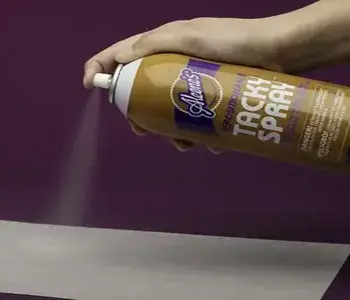
Absolutely. Look for a spray adhesive with the tack level that you want. It needs to dry tacky and not hard.
Wrap the edges of the mat as directed and spray the adhesive on the mat. It will restore the tackiness with a few caveats.
- Spray adhesive that dries hard won’t work.
- You may have to refresh spray adhesive frequently because it doesn’t put down a thick layer like Tacky Glue.
- Make a cardboard “frame” for the edges of your mat so you can simply lay the frame on and spray the grid without having to mask all the edges.
Tacky Glue gives us the best results and it’s the cheapest option we know of for keeping our mats working like new.
If you want to see the process of resticking a Cricut mat using spray adhesive, check out this quick video that includes dos and don’ts.
Wrapping Up
That’s it! You know how to restick a Cricut mat with Tacky Glue.
This simple and easy method will ensure your mat stays in top condition and serves you for as long as possible!
