Do you want to learn how to emboss with Cricut Maker, this blog will discuss everything you need to know.
Embossing paper is super easy with the Cricut Maker. You’ll be ready to go in just a couple minutes.
We will also provide tips and tricks for getting the best results possible.
So, whether you are a beginner or an experienced Cricut user, this blog post is for you!
How to Emboss With Cricut Maker
There are two ways to emboss with the Cricut Maker:
Both will create scored lines on the front of light to medium-weight cardstock.
The double-scoring wheel helps to create thicker scored lines for folding without tearing.
This wheel is used for heavy cardstock, glitter paper, and other specialty materials.
- Load the cardstock onto a cutting mat.
- Clamp the desired tool into the Cricut Maker 3.
- Choose your design, and in the “Linetype” menu select “deboss.”
- The Cricut will score your paper flawlessly.
Use the “SnapMat” feature to select the area on the paper you want Cricut to emboss the paper or position the design you want to be embossed on the corresponding grid area on the preview screen.
Read More: Cricut Maker Scoring Wheel VS Stylus. Here are the differences between these two scoring tools!
What’s the Difference Between Embossing and Debossing?
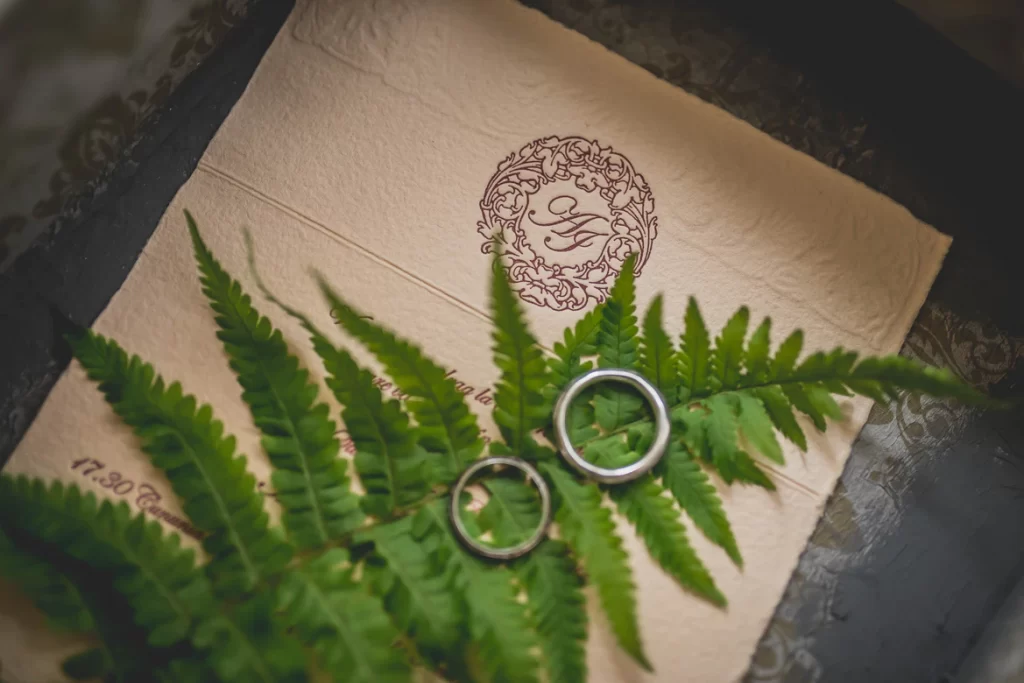
Embossing pushes the paper up from underneath creating a raised surface on the front of the paper. This is most commonly seen with embossed paper seals.
Cricut can’t do genuine embossing because the pressure is always applied to the front of the paper.
However, later we’ll go over a technique you can use to create an embossed effect using your scoring stylus.
Debossing applies pressure from the front of the paper and is most commonly used for paper folding.
You can try to deboss thin paper all the way through to raise the back, but it will only work with very thin cardstock.
How to Emboss With Cricut Maker
Learn how to emboss with a Cricut maker by following this step-by-step guide.
Step 1: Gather The Required Materials.
This first step of how to emboss with a Cricut Maker is to gather all the materials you will need to create the desired emboss.
- Cricut machine
- Scoring Pen, Scoring Tip, or Double Scoring Tip for the Cricut Maker
- Light grip mat
- Lightweight or medium weight cardstock
- Embossing pen (clear – your favorite brand)
- Embossing powder – any color
- Small heat gun
Read our related article, ‘Can You Emboss With a Cricut Explore Air 2?’ to see how it’s done on this machine!
Step 2: Open Up The Cricut Design Space
Once you have a blank canvas, click on the “upload” button in the left-hand toolbar. This will bring up a menu of options.
Select “image upload” from this menu. You can then find the image you want to use for your project and insert it onto your canvas.
If you want to create a raised (embossed) design, go ahead and put it on your canvas, exactly where you want it. You can have the debossing tool trace all your ideas at once.
Also, program any debossed folds or designs you want on the paper.
Step 3: Load Your Paper
Load your paper onto the cutting mat.
Use the preview screen on Design Space to ensure the debossing lines will be precisely where you want them on the paper.
You can also use the SnapMat feature to make sure the Cricut will cut precisely where you want.
Step 4: Deboss Your Design
The Cricut will tell you exactly which tool to snap in and when to do so.
Follow the on-screen instructions for the debossing tool you have – scoring wheel or scoring stylus.
The scoring wheel is a Quickswap blade, so you’ll have to change the tip in the housing to the scoring wheel before you can start.
Read More: How to Change Cricut Blade. Not sure how to replace blades? This easy guide takes you through each step.
Step 5: Emboss Your Paper
If you have programmed decorative areas or lettering into the Cricut design that you want to be raised, you’ll have to do it by hand, but it’s easy.
- Cricut has scored your design into your paper, so trace the scored design with the clear embossing pen.
- Sprinkle embossing powder on the design and tap away the excess.
- Use a tiny clean paintbrush to remove any powder that has stuck where you don’t want it before you heat the design.
- Use the heat gun to gently warm the embossing powder. It will swell and dry, creating your raised, embossed design.
While this multi-step embossing isn’t lightning-fast, it’s an easy way to get perfect embossed designs on your paper that are totally customized and look professional.
This video shows you another way to use embossing pens to emboss using your Cricut Maker’s clamp and embossing wheel.
Embossing With Cricut Maker – Tips and Tricks
Follow these tips and tricks to get the best results when embossing with your Cricut Maker!
- Use the light grip cutting mat. This will help to prevent the paper from tearing as you cut.
- When cutting specialty paper, refer to this guide from Cricut to decide which scoring wheels you should use and whether the paper should be face-up or face-down.
- Keep your cardstock lightweight if you’re using the scoring pen to get the best clarity in your design.
- If you want a deep emboss, use a thick cardstock. This will help to prevent the design from being too delicate and tearing when you fold.
Embossing and debossing with the Cricut Maker couldn’t be easier.
Most people are happy with a completely debossed design, but if you want to make portions of your design raised, that’s easy too.
The fun thing about using an embossing pen and powder is that you can combine powder colors to create truly intricate and lovely designs that will impress anyone who receives the card.
Wrapping Up
While Cricut can’t technically emboss paper, debossing is usually the function that people want to use.
The terms are often used interchangeably even though they mean the opposite.
Regardless of which you want to do – or both – your Cricut can help you create paper projects that look professionally customized and folded – in a snap!