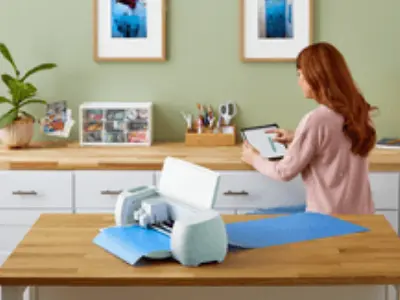
Interested in knowing how to cut chipboard with Cricut Maker?
If so, you have come to the right place! In this blog post, we will teach you everything you need to know about cutting chipboard with your Cricut Maker.
We will discuss the different types of chipboard that are available, as well as the best ways to cut them.
We will also provide a few tips and tricks that will help make the process easier for you.
How To Cut Chipboard With Cricut Maker

Use the knife blade and set the materials to either 1.5mm or 2mm chipboard, depending on which one you’re cutting.
Tape the chipboard to a StrongGrip mat and tape the edges with painter’s tape to prevent slipping.
Cut your design with the Cricut Maker. Use a weeding tool to gently lift parts of the cut design to ensure it is cut through. If not, set the Cricut to cut a second pass.
Remove the chipboard design and seal with ModPodge or a similar sealant before painting as desired.
Tips for Cutting Chipboard With a Cricut

If you’re looking for a versatile cutting machine that can handle thick and thin materials alike, the Cricut Maker is a great option.
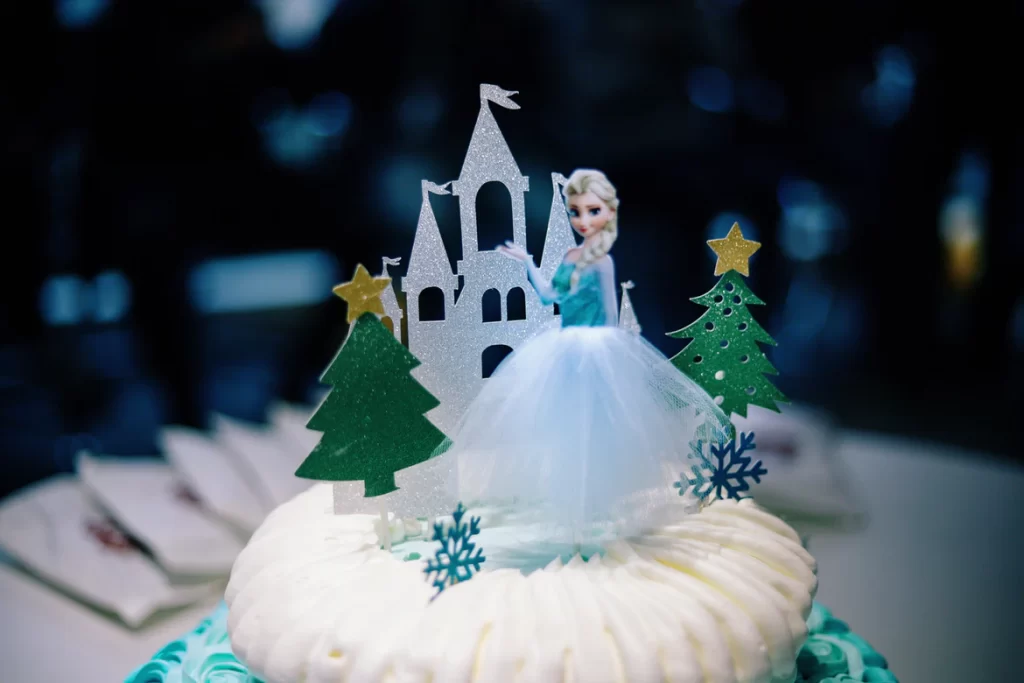
With its powerful blades and easy-to-use design software, it’s perfect for everything from cutting chipboard to creating complex cake toppers and home decor items.
Here are some of our favorite tips for getting the most out of your Cricut Maker when cutting chipboard.
- If you have a Cricut Maker with a knife blade, you can cut chipboard. If you don’t have a knife blade, you’ll need to get one from Cricut to cut chipboard.
- 1.5mm chipboard usually cuts in one pass with a sharp knife blade. 2mm may need a 2nd pass, so carefully lift your project to peek and make sure it’s cut out before removing it from the mat. Set the Cricut for a second pass if needed.
- Use a StrongGrip mat to hold your chipboard and press it down for full contact with a brayer for Cricut.
- Secure the edges of your chipboard with painter’s tape to make sure it doesn’t move during cutting.
- Select the correct width of chipboard from the materials list so your Cricut will cut it correctly.
Once your chipboard piece is cut, you need to seal it with ModPodge, gesso, or a similar sealant. Then you can use any paint you’d like to decorate it, including spray paint.
What is Chipboard Made From?

Chipboard is made from recycled paper that is held together with an adhesive to create a uniform piece of thick material that is sturdy and resilient.
It isn’t the same as cardboard.
Chipboard is perfect for making cake toppers or cupcake toppers, home decor signs, dollhouse furniture, nativity scenes, Christmas tree ornaments, and seasonal garlands that can be reused year after year.
Cricut makes chipboard in 1.5mm and 2mm widths.
Wrapping Up
Chipboard is a fun material to work with because designs can be sturdy and last a long time.
Make stand-up figurines, home decor items and signs, cake and cupcake toppers, notebook covers, and more.
Once you discover chipboard the possibilities seem endless and you’ll be inspired to create some beautiful, long-lasting items using a chipboard base.

