Do you want to learn how to make koozies with Cricut? If so, you have come to the right place!
We’ll show you how to create koozies using your Cricut machine – a super easy project.
Koozies are a great way to keep your drinks cold on hot summer days, and they also make great party favors or gifts!
So let’s get started and learn how to make koozies with our Cricut machines!
How To Make Koozies With Cricut
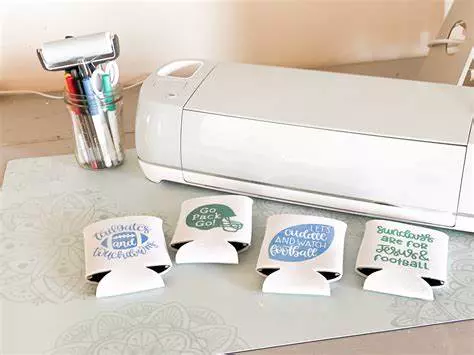
Purchase blank koozies (can holders) from any craft store or get them online cheaply.
Use Design Space to choose or create your custom design, ensuring it is smaller than the koozie so it will fit.
Load Cricut HTV in any color you like onto a regular cutting mat and let the Cricut cut your design.
Weed the design carefully then apply it to the koozie using an EasyPress or iron.
Cover the design with butcher paper before pressing to protect the design and the press.
Cool completely for about 15 minutes before removing the liner to reveal the finished design.
How Can I Make Personalized Can Koozies?
One of the best ways to personalize and customize your favorite drinks is to create custom koozies using a Cricut machine.
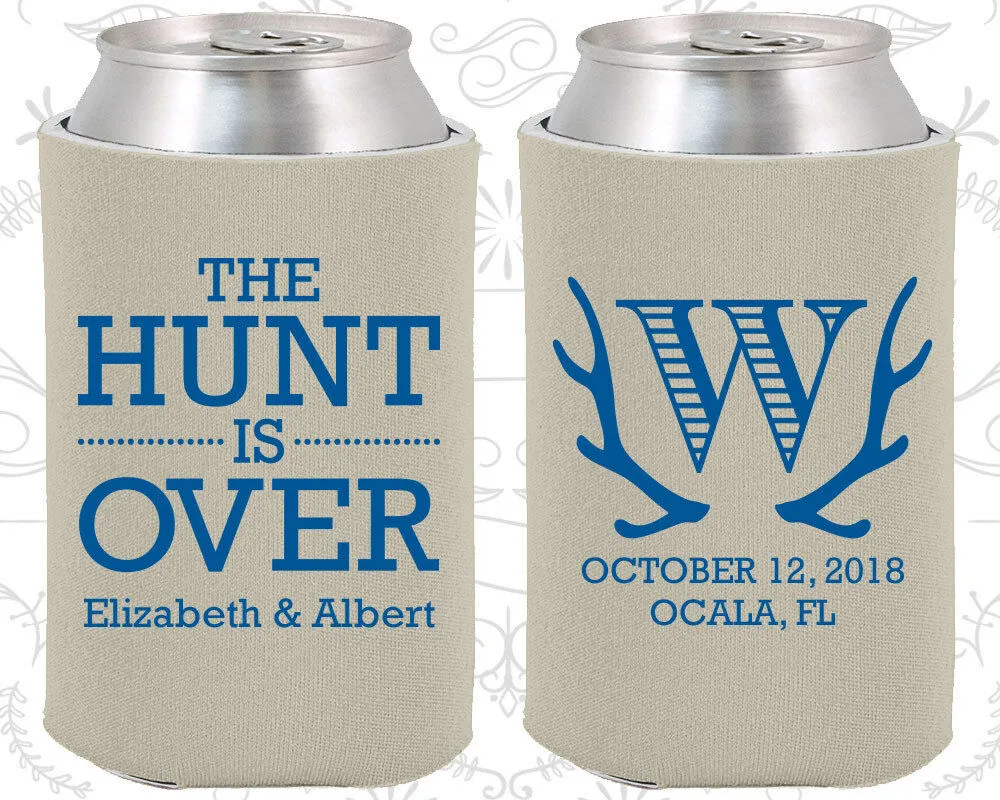
Custom koozies are simply can or bottle koozies that have been personalized with a design, message, or photograph.
They can be made from a variety of materials, but most are made from neoprene.
Koozies are easy to customize with heat transfer vinyl (HTV) for a high-quality finish or use Cricut Infusible Ink for stunning color and pattern variations.
There are certain supplies needed to get started.
- Any Cricut machine
- An EasyPress or iron
- Heat Transfer Vinyl (HTV) or iron-on transfer paper
- A koozie template or custom design on Design Space
- A pressing cloth if using an iron instead of the EasyPress
- Butcher paper to cover the design during transfer
Once you have your supplies, simply design your koozie using Design Space, then cut it out using a Cricut or other cutting machine.
If you’re using iron-on transfer paper, be sure to mirror your image before cutting because it will have to be flipped over before application.
Otherwise, it will be backward when you apply it to the koozie.
Next, weeding tools to weed away the excess vinyl or paper around your design.
Place the koozie on your heat-press then carefully adhere the vinyl. Finally, let the design cool completely then remove the backing, and voila!
You’ve now got a custom koozie that’s perfect for any event. And best of all, making them is super easy and fun!
Make a Koozie With Infusible Ink
Cricut Infusible Ink is a brand-new way to sublimate ink into the fabric.
This works perfectly with koozies and creates a design that is infused into the koozie rather than sitting on top.
The easiest way to make custom inked koozies with Infusible Ink is to use the transfer sheets.
- Choose your design in Cricut Design Space or create your own
- Be sure to mirror the image so it looks right after transfer
- Load an Infusible Ink transfer sheet onto a green cutting mat with the liner side down
- Cut your design with the Cricut cutting machine using a fine point blade
- Use the EasyPress to apply the design to the koozie using your EasyPress instructions
- You’ll need to cover the design with butcher paper before pressing
As the Infusible Ink sheet is heated, the ink will vaporize and infuse into the fabric. Allow it to cool before removing the liner.
The ink will now be a permanent part of the koozie fabric!
Wrapping Up
Cricut machines are a great way to make custom koozies. You can use Cricut iron-on vinyl or Cricut infusible ink to create your design, and then press it onto the koozie.
When it comes to customized koozies with Cricut, the possibilities are only limited by your imagination!