Do you want to learn how to cut glitter vinyl with Cricut?
It can be tricky to get the hang of at first, but it’s a breeze once you know the proper techniques it’s a breeze!
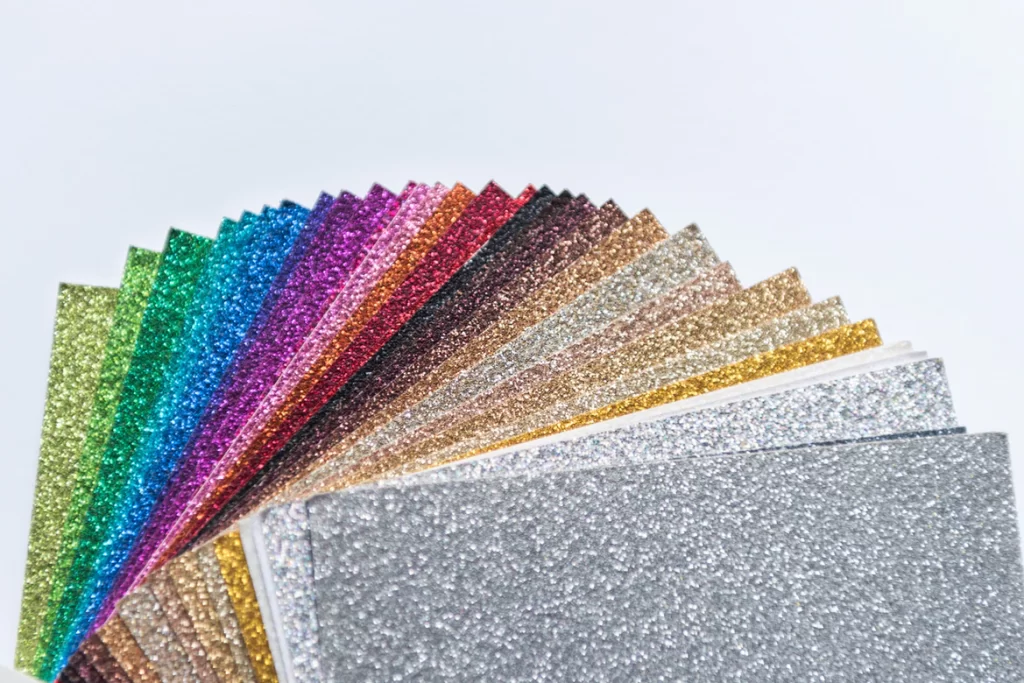
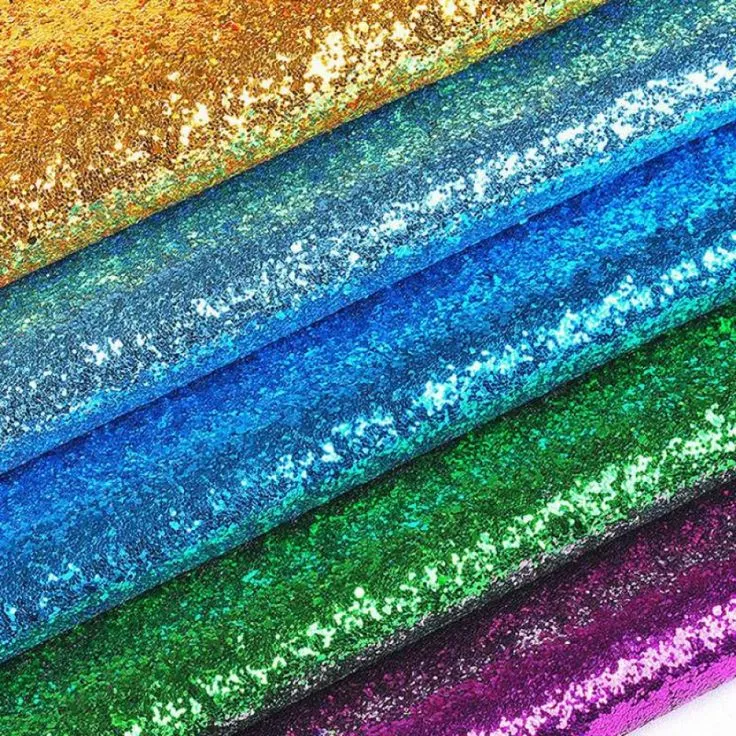
We love to use glitter vinyl for clothing, pillows, glass decor, and decals. It’s so fun and festive to use glitter vinyl to spruce up Cricut projects.
How To Cut Glitter Vinyl With Cricut – The Basics
Glitter vinyl rolls come with StrongGrip Transfer Tape. Place the vinyl on a LightGrip mat and load it into the Cricut with a Fine Point blade.
Load the design into the Cricut and use the “Kiss Cut” settings to cut the vinyl but leave the liner intact. For most machines, this is a blade depth of 2, medium pressure.
If your machine has the option, select “Glitter Vinyl” from the materials menu.
Cut the vinyl with the Cricut then weed away the vinyl from around the design, leaving the design on the liner.
Remove the transfer tape liner and place the sticky side on the vinyl design, removing air bubbles as you go.
Peel away the vinyl liner then use the transfer tape to apply the vinyl design as you wish.
Peel away the transfer tape. If the vinyl adheres to the transfer tape, carefully position it back where you want it and use a craft stick or other tool to burnish the design so it will adhere better to the material.
Read our related article on the BEST Vinyl Cutting Machines. We tested the top cutting machines and here’s what we found.
How To Cut Glitter Vinyl With Cricut – Step By Step
Things You’ll Need:
- Cricut machine
- LightGrip Mat
- Glitter vinyl
- Weeding tool
- StrongGrip transfer tape
Read our related article on How to Use Cricut Glitter Iron On Vinyl to learn how to apply glitter iron-ons to your projects!
Step 1: Create A Design
The first step in how to cut glitter vinyl with Cricut is creating a design. You can do this in Cricut Design Space or Adobe Illustrator.
We recommend starting with a blank canvas if you’re using Cricut Design Space. This will give you the most flexibility when designing your project.
Once you have a blank canvas open, it’s time to start creating! You can use shapes, images, and text to create your design.
Just remember that anything that will be cut out of vinyl needs to be saved as a Print Then Cut image. This is how the Cricut knows to cut around your design.
Read More: Cricut Canvas Size. Learn how to adjust the size of your canvas in Circut Design Space!
Step 2: Select Your Material
Once your design is in Cricut Design Space, it’s time to select the material you will be cutting.
We will be cutting glitter vinyl in this case, so make sure that it’s selected in the drop-down menu.
Then, click on the blue “Make It” button in the top-right corner of the screen.
If your machine doesn’t have glitter vinyl in the materials menu, refer to the “Kiss Cut” table in this guide from Cricut.
It will tell you the settings you should use to cut the vinyl while leaving the backing intact.
Step 3: Cut Your Design
Make sure your Cricut machine is connected to your computer and click on the “Cut” button. This will send your design to the Cricut and start cutting it.
Depending on the size of your design, this process takes a few minutes. Your design will only need one pass to cut through without cutting the vinyl backing.
Step 4: Weed Your Design
Next, use the weeding tools to remove any small pieces of vinyl that are not part of your design.
This can be a bit time-consuming, but it’s essential to ensure that all excess vinyl is removed.
You will leave the vinyl backing intact while weeding away all excess glitter vinyl. This will leave your design stuck to the vinyl backing.
Read our related article on How to Remove Cricut Vinyl From Fabric (and more!)
Step 5: Apply the Transfer Tape
Once you’ve finished weeding, it’s time to apply a transfer tape.
Transfer tape is a transparent adhesive material that helps move your design from the vinyl backing to your project surface.
If you purchased Cricut Glitter Vinyl the StrongGrip transfer tape is included.
To use the transfer tape, simply peel it away from the paper backing and stick it on top of your design.
Go slowly and remove bubbles as you apply the transfer tape to your design.
Step 6: Apply Your Design
The final step is to apply your design to your project surface. Slowly peel away the vinyl backing, careful not to disturb your design.
Then, position the vinyl on your project surface and press it down.
Finally, remove the transfer tape by peeling it away from your design. If any pieces of your design come up with the transfer tape, simply press them back down into place.
Read our related article on the BEST Vinyl Cutter and Heat Press Combo. These 2-in-1 tools are a MUST SEE. Here’s what we found.
What Is Transfer Tape, and Do I Need It?

Transfer tape is a transparent adhesive sheet used to transfer vinyl designs onto surfaces. It’s basically like Contact paper but with a stronger adhesive.
Transfer tape makes it much easier to apply vinyl designs, especially if they’re intricate or have multiple parts.
Transfer tape makes it possible to get the design straight and uniform without bubbles or wrinkles.
For glitter vinyl Cricut recommends that you use StrongGrip transfer tape. Sheets of this come with the Cricut glitter vinyl.
Read our related article on How to Use Transfer Tape for a more in-depth guide on how and where to apply transfer tape!
How Do I Apply Transfer Tape?
First, peel off the backing paper on the transfer tape. Next, position the transfer tape on top of your vinyl design. Make sure that the adhesive side is facing down.
Then, use a credit card or craft stick to smooth out bubbles or wrinkles. Finally, peel off the backing paper on the vinyl and position your design on your desired surface.
Gently press down on the design until it fully adheres to the material. The last step is to remove the transfer tape.
If the design sticks to the transfer tape, use a brayer for Cricut or craft stick to push it down more firmly before removing the transfer tape.
If you still have questions about transfer tape and need to see it in action, check out this video that will show you how to use transfer tape to transfer your vinyl creations!
Read More: How to Calibrate Your Cricut Explore Air 2. If your Cricut isn’t cutting, here’s how to calibrate it!
Wrapping Up
Cutting glitter vinyl with a Cricut machine is not as difficult as it may seem.
By following the steps outlined in this blog post, you will be able to cut glitter vinyl like a pro in no time.
If you’re new to using glitter vinyl and transfer tape, choose a small project first to see how it works, then you’ll have the confidence to create whatever you want!